
Guide
To accept PayNow QR, Visa, Mastercard, American Express, Apple Pay, Google Pay, WeChat Pay, AliPay and GrabPay PayNow, first register an account at HitPay.
Complete PayNow Setup
Complete your PayNow setup by navigating to settings>paymentmethods>paynow in the HitPay Dashboard
Fill out the required business details and click on Save
Enable Credit Cards, WeChatPay, AliPay, GrabPay
Connect a Stripe account under Settings > Payment Methods > Credit Cards in the HitPay Dashboard
Connecting a Stripe account is mandatory , however you may choose your activated payment methods under Settings > Payment Gateway > Integrations
Install WooCommerce Plugin
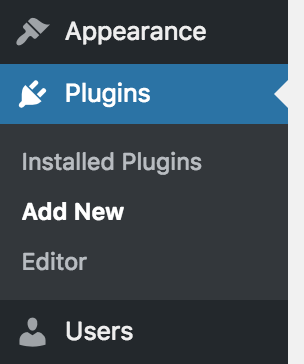
To download and install the HitPay Payment Gateway for WooCommerce, navigate to Plugins > Add New within your WordPress admin page.
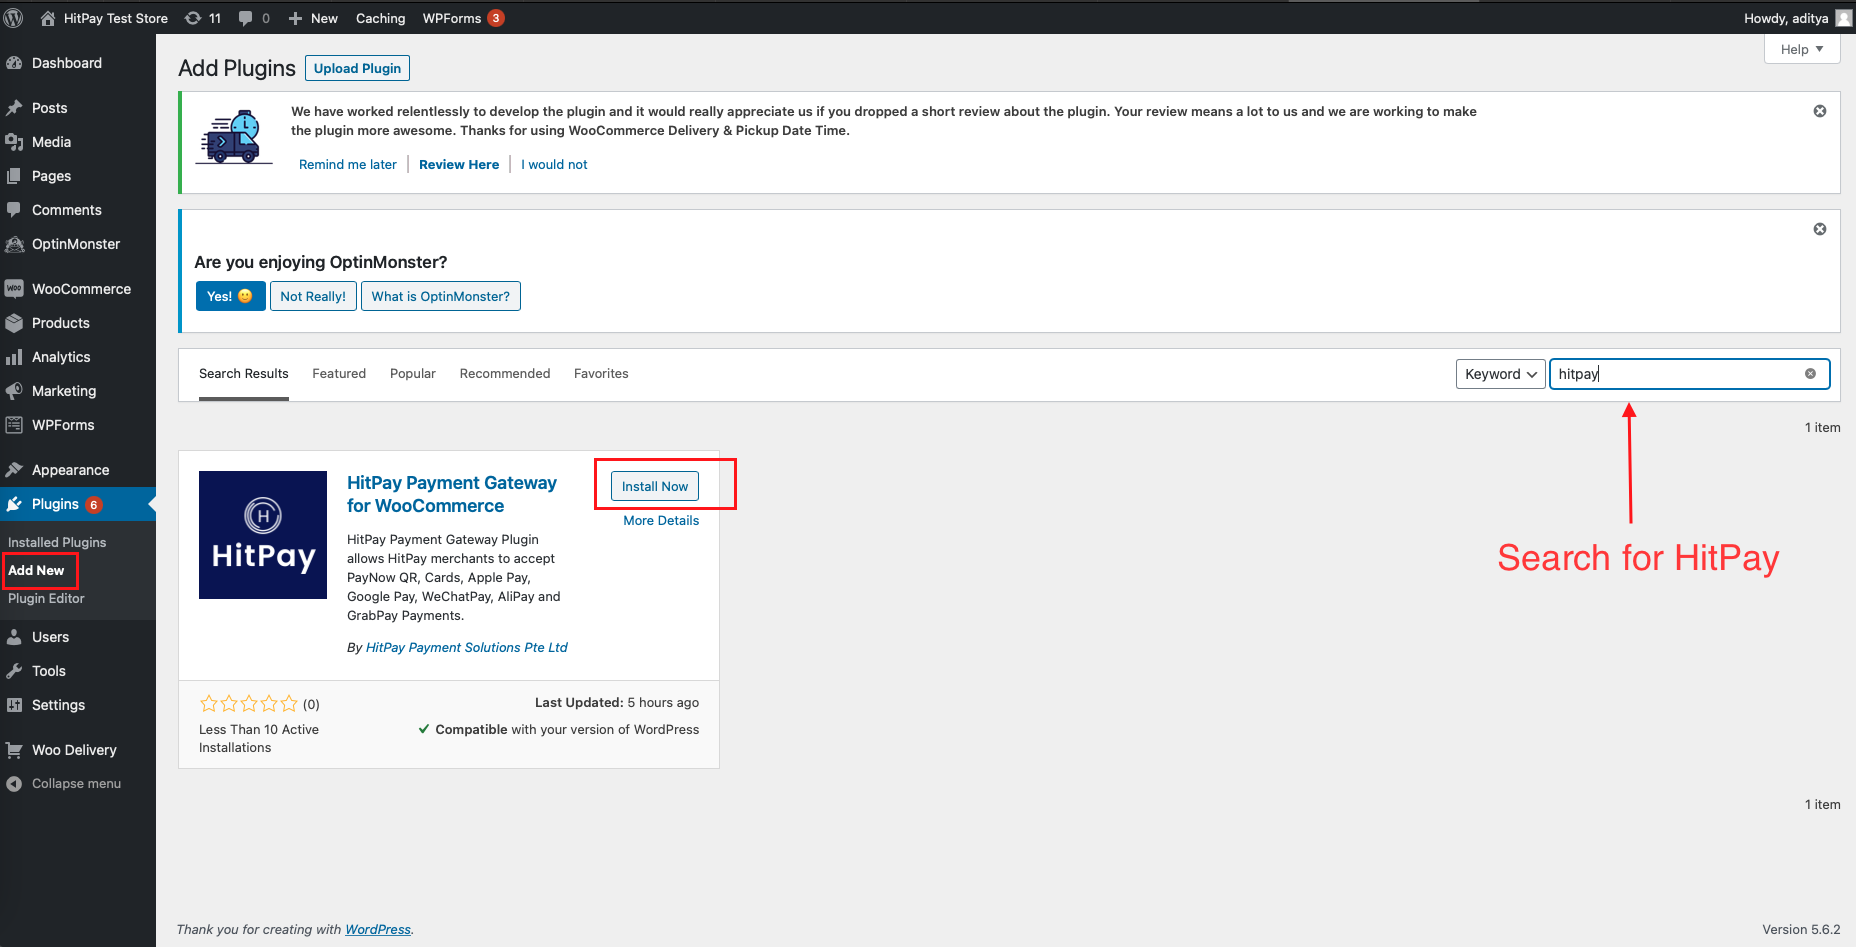
Search for HitPay from the keyword search field and install the HitPay plugin
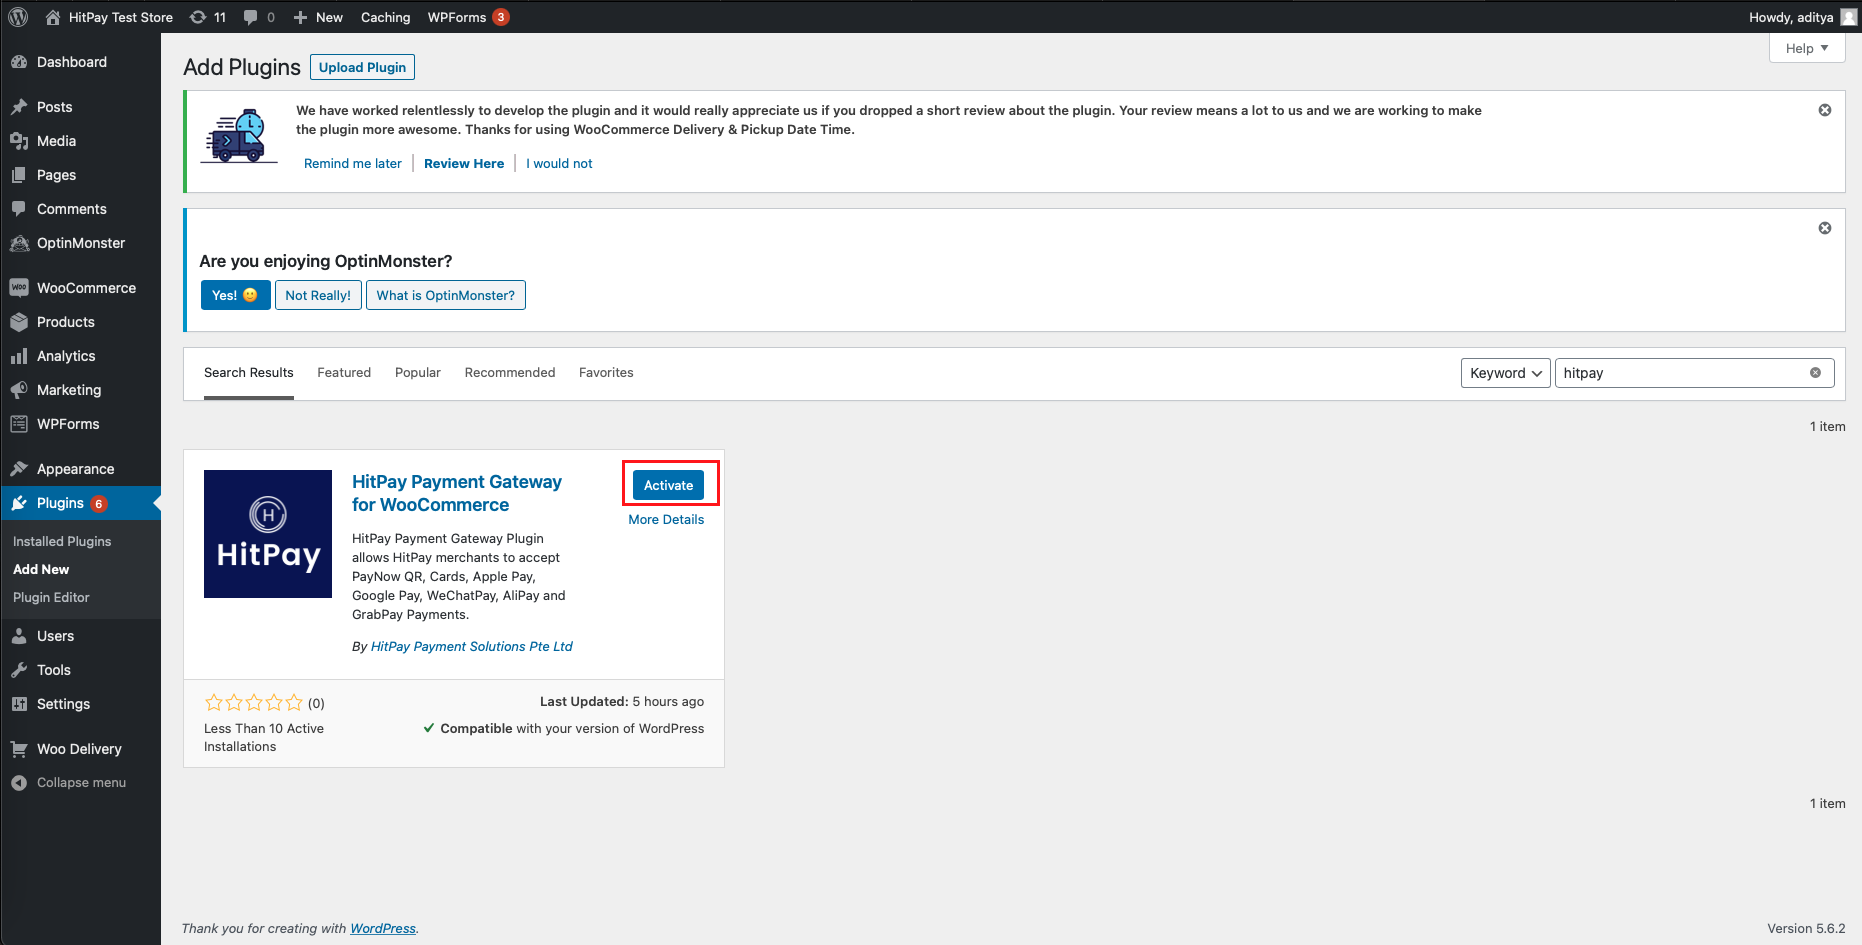
Click on activate
From the list of downloaded plugins, click on Enable Auto Updates to ensure your plugin is auto updated.

Link HitPay with your WooCommerce store
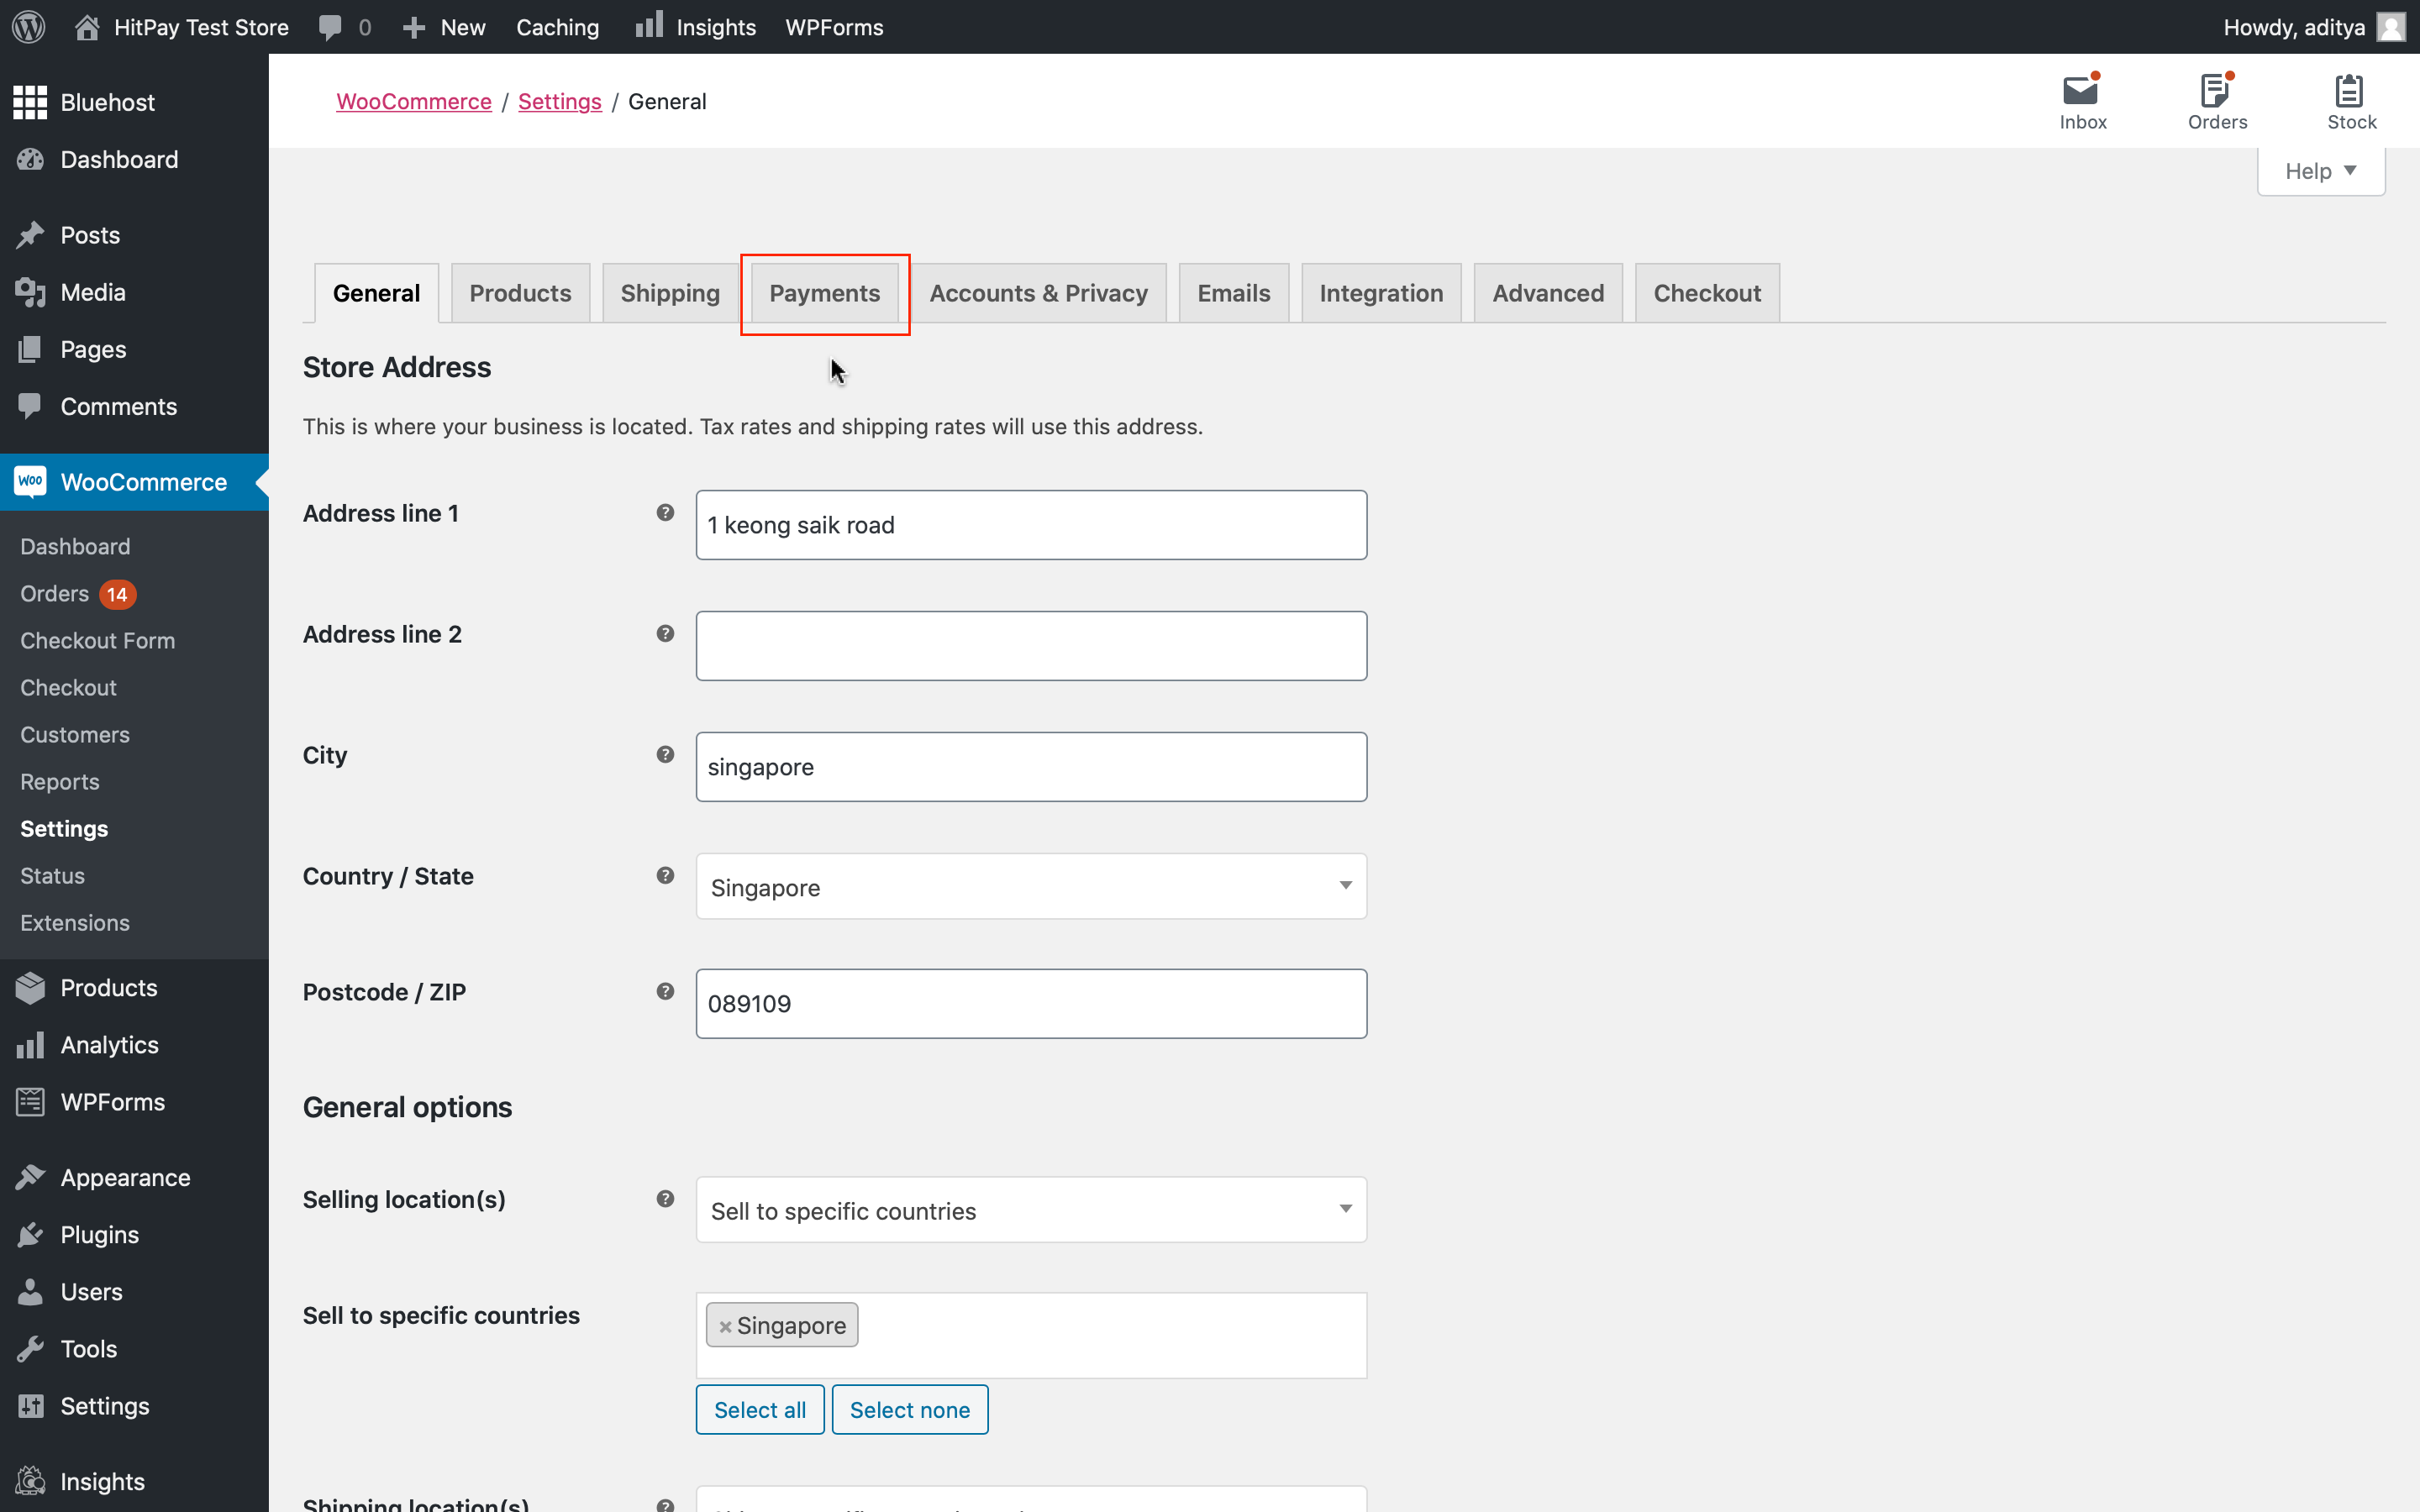
Now navigate to Settings under WooCommerce
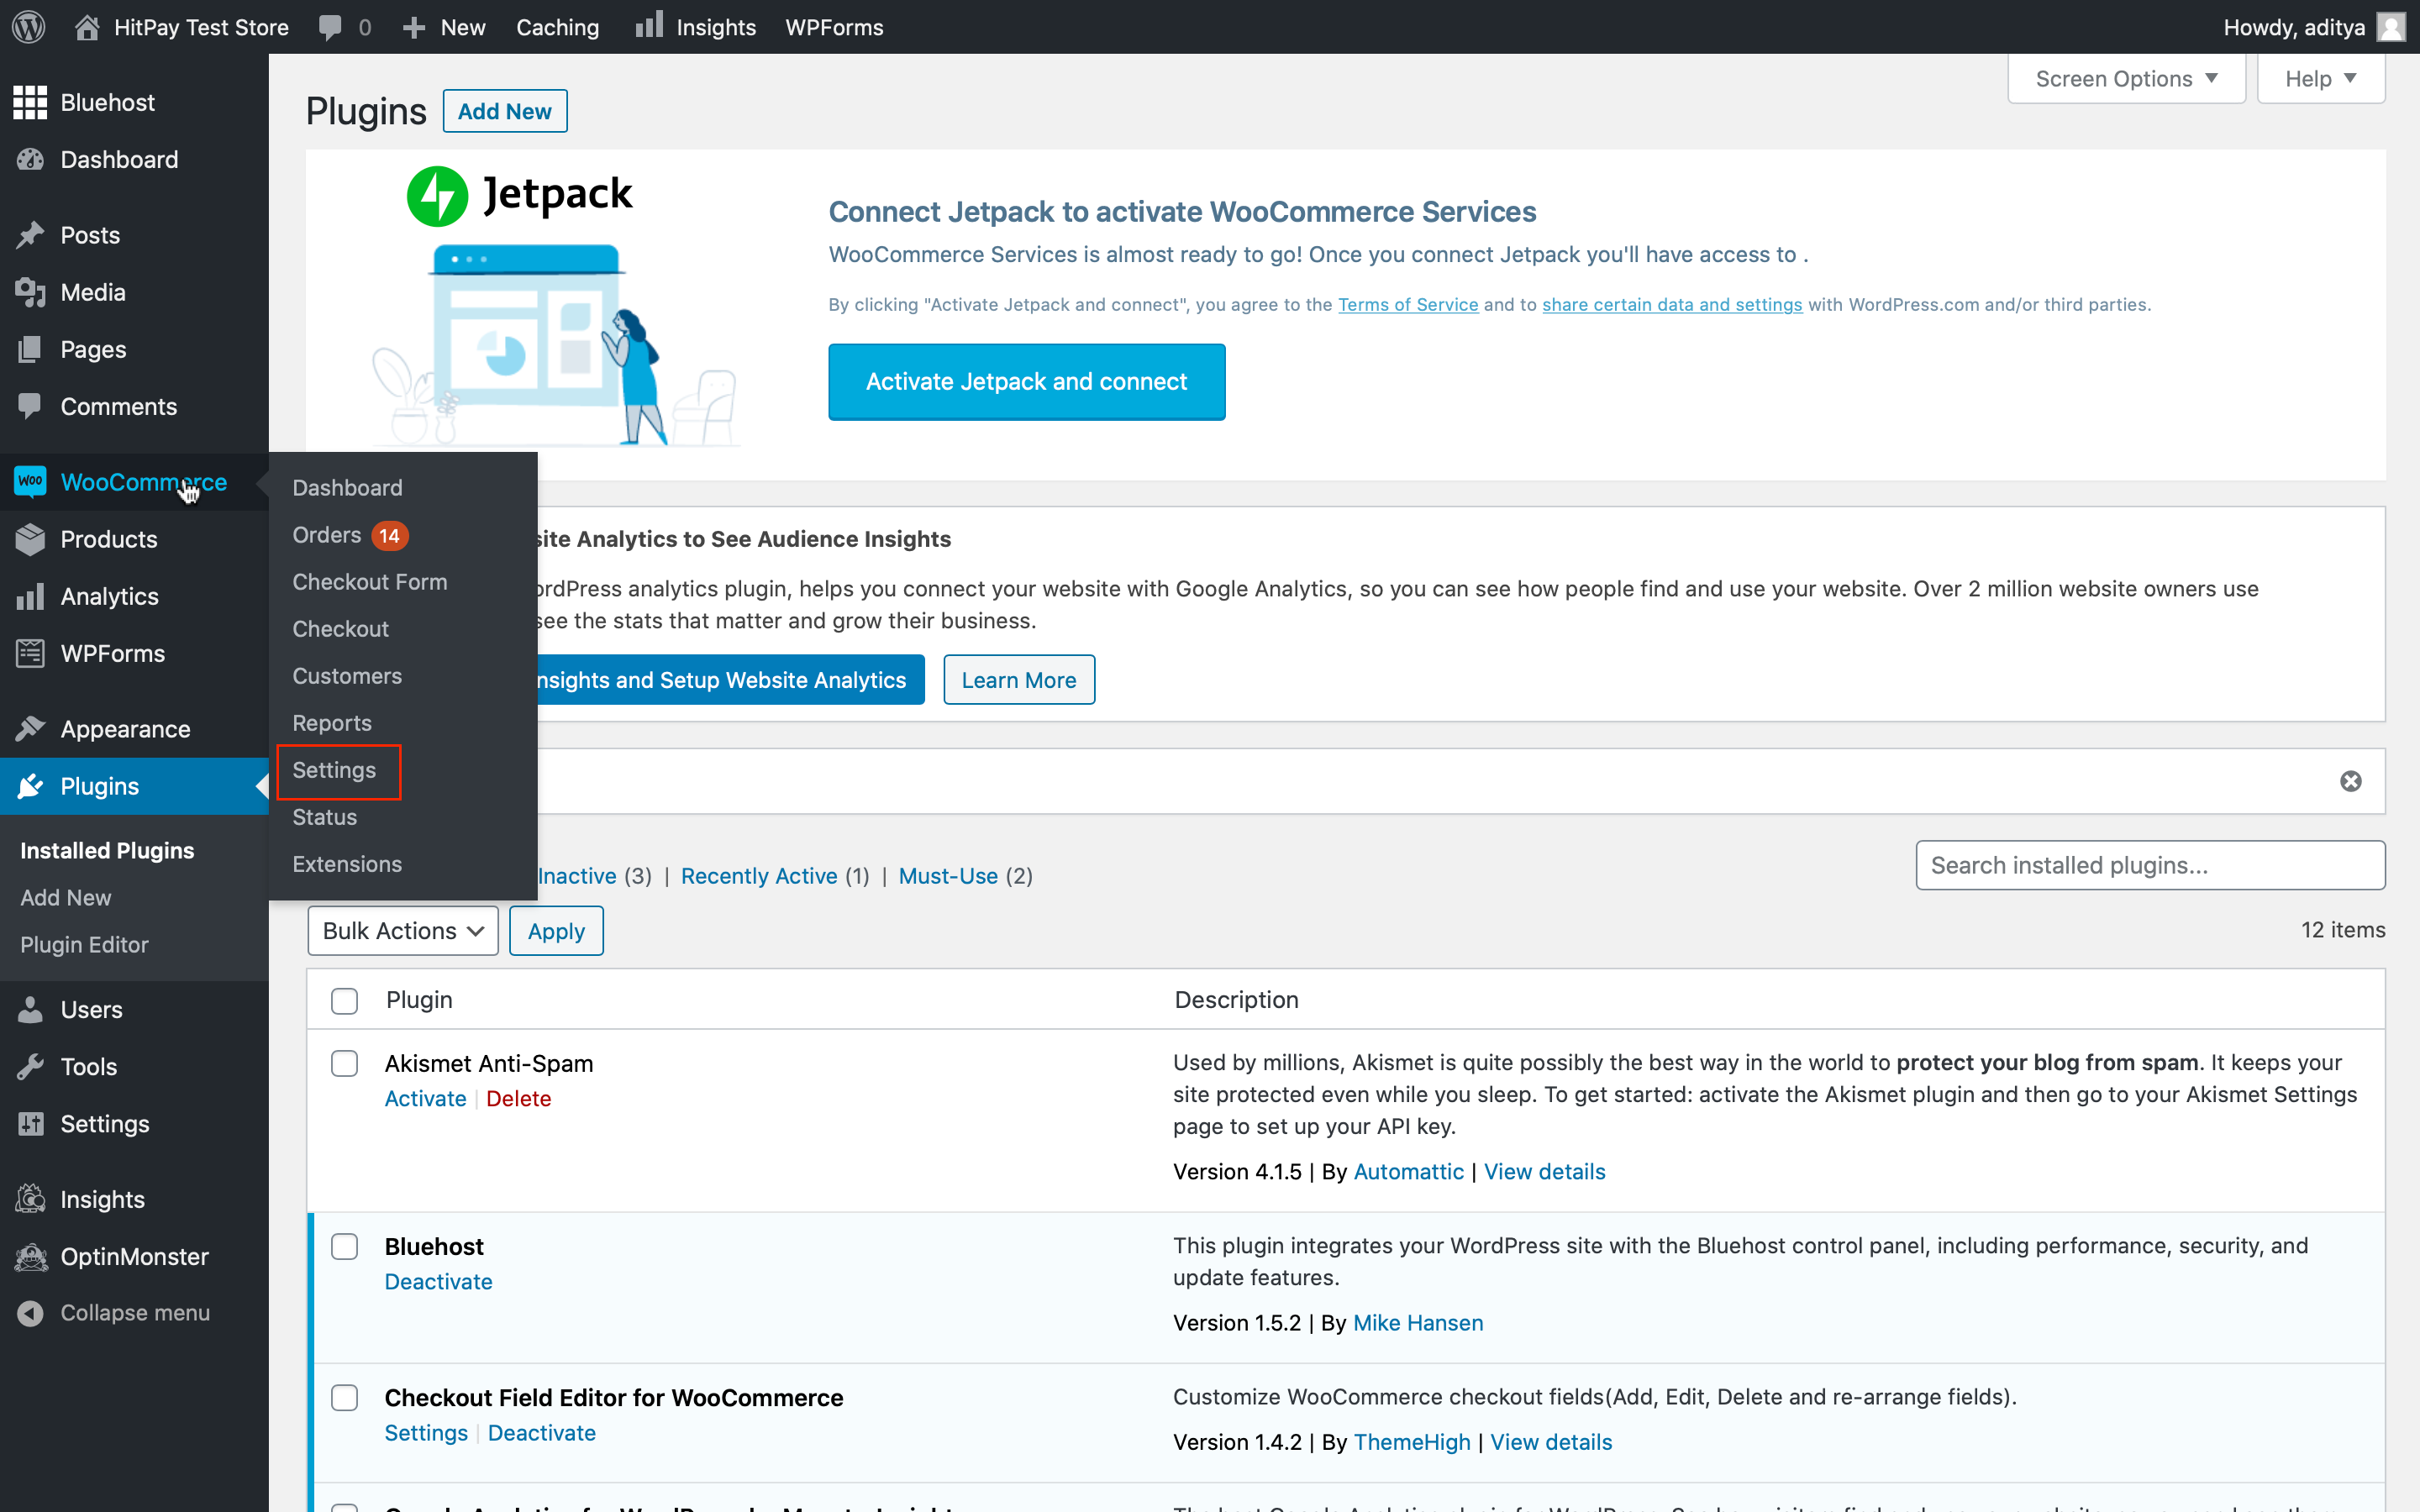
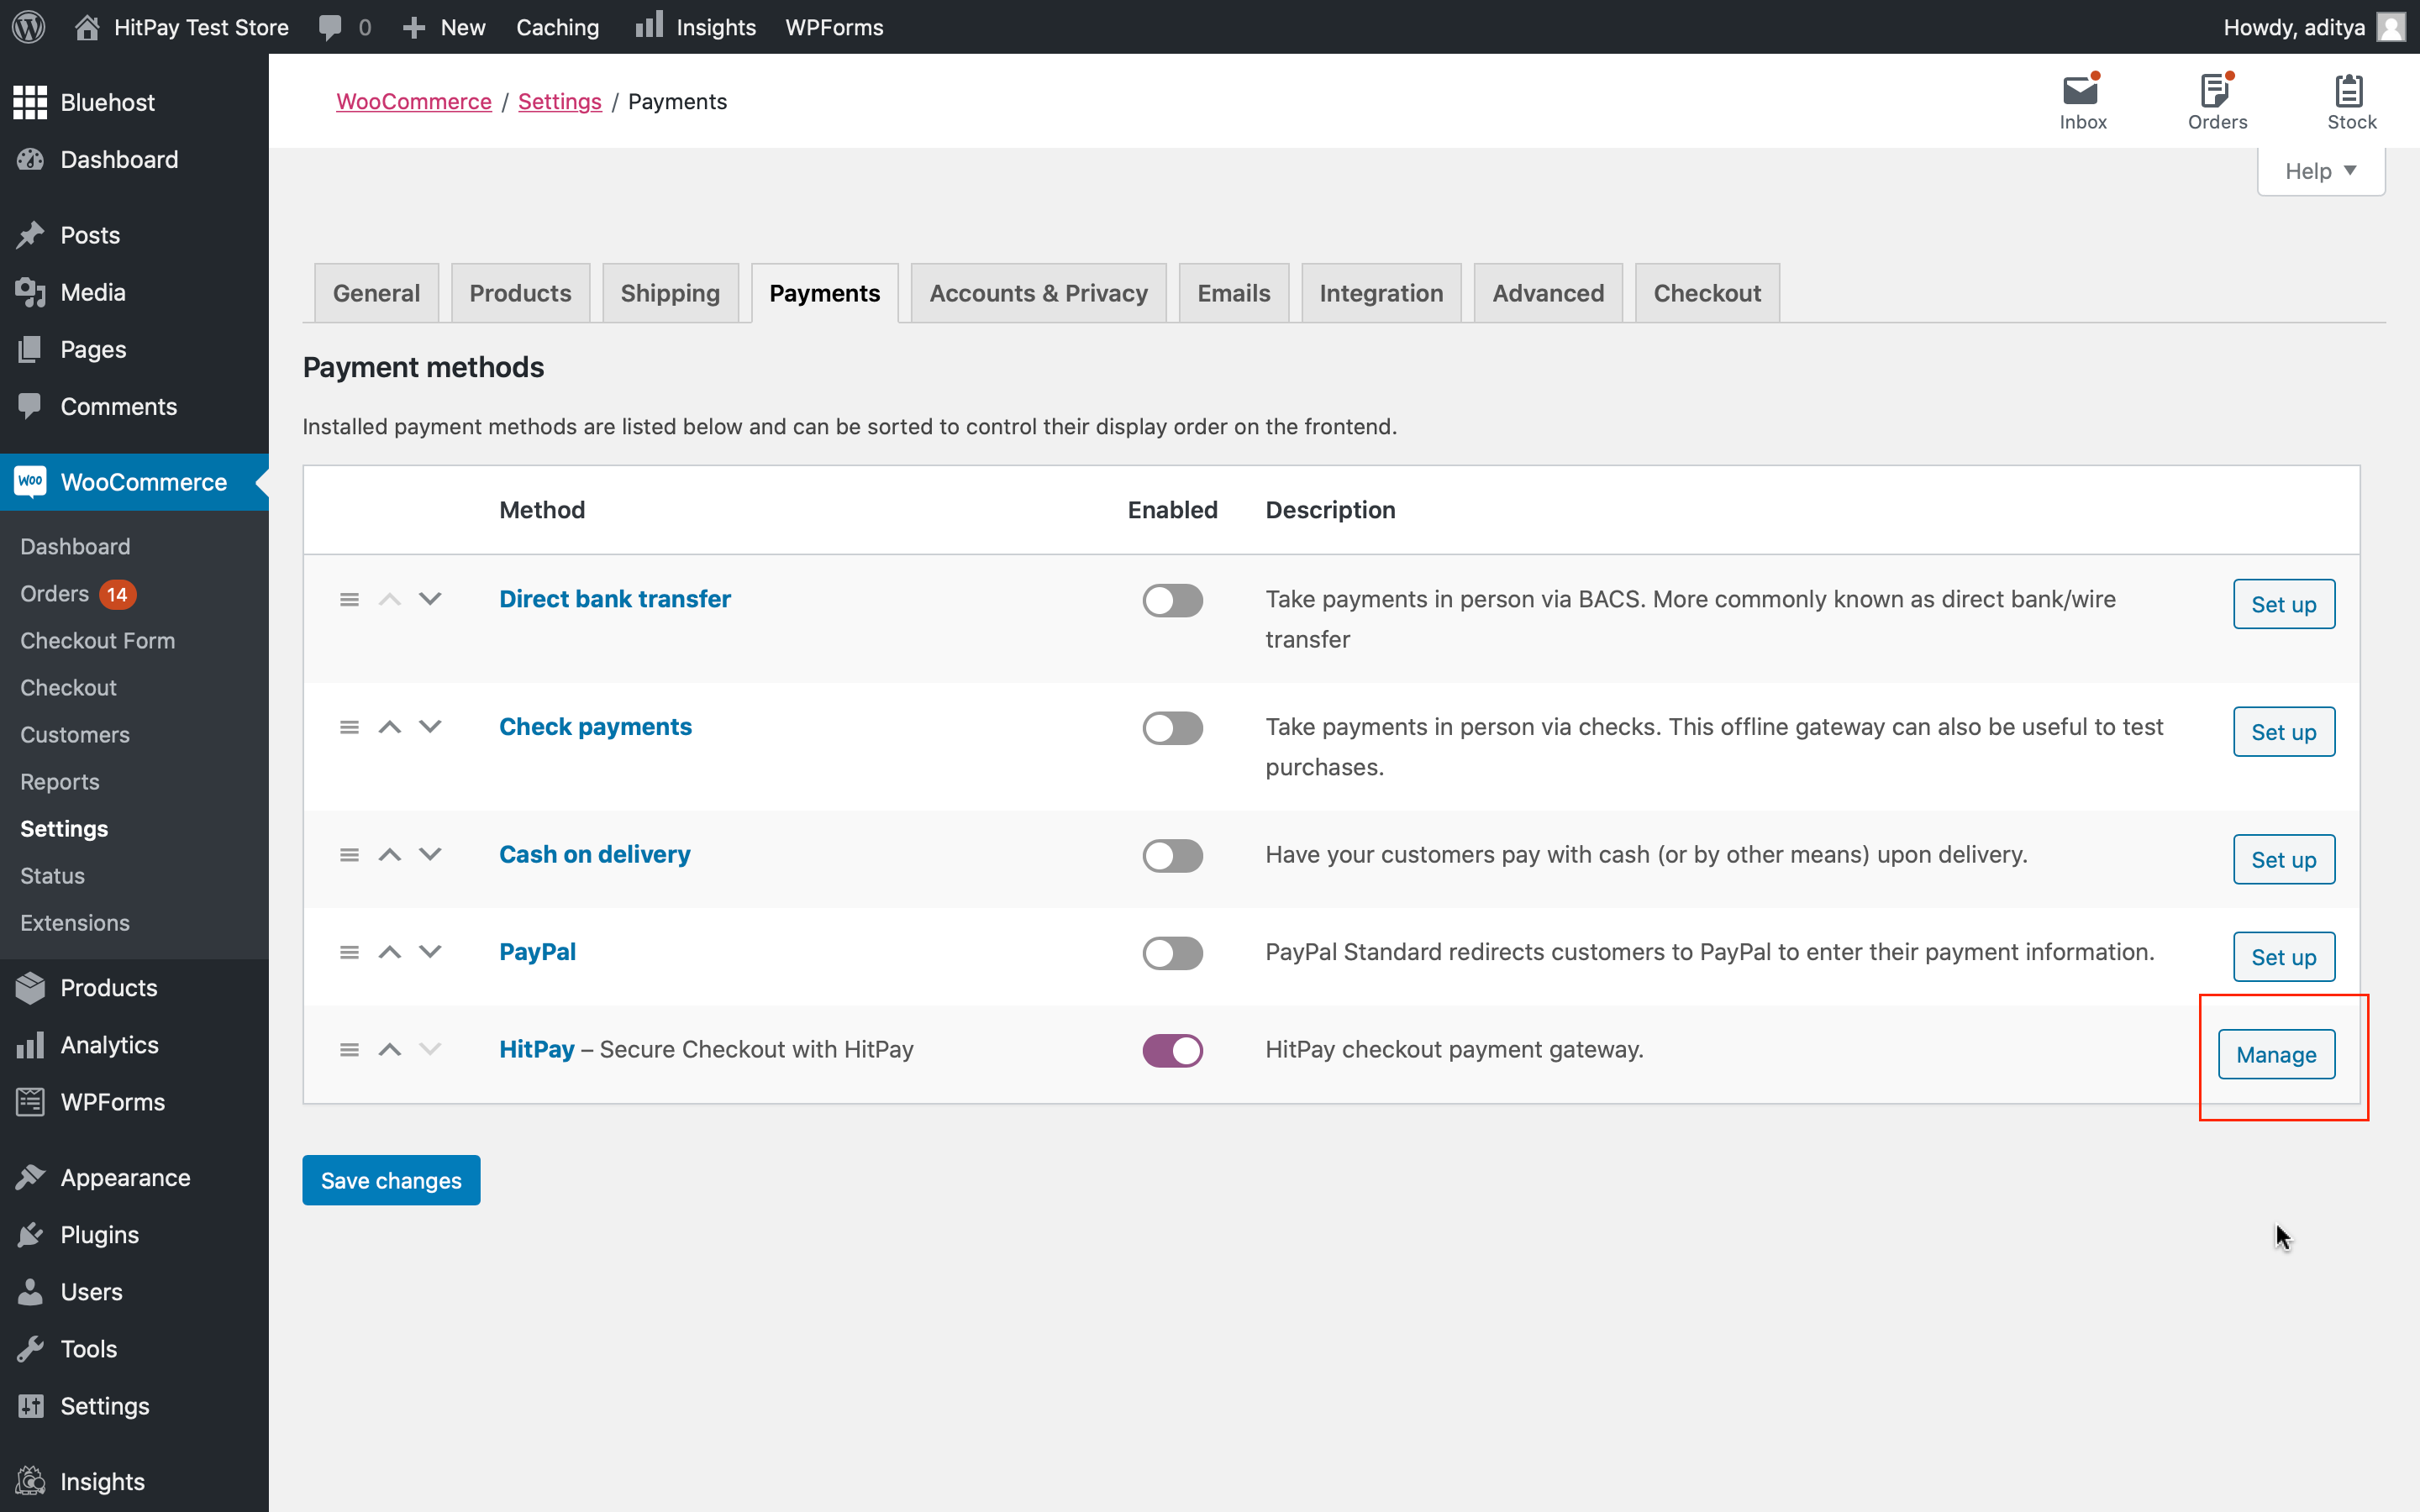
Click on Payments under settings
Click on Manage next to HitPay payment method
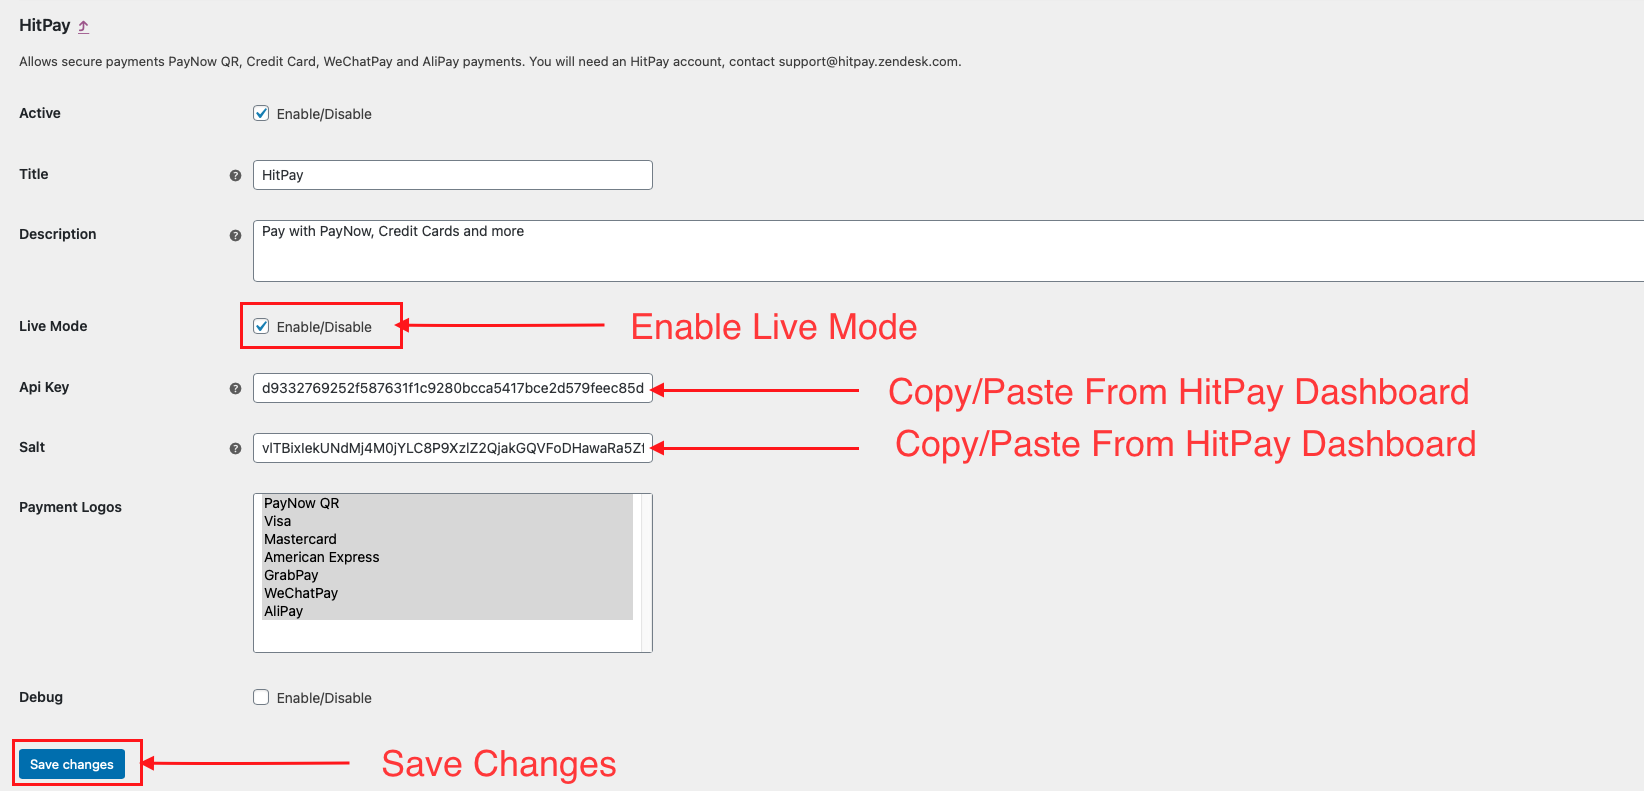
Complete HitPay configuration in WooCommerce
Note: Enable Live Mode ONLY if you have copy / pasted the API keys and Salt values from the production environment.
If you are testing in sandbox, you have to uncheck Live Mode and copy the API keys and Salt values from HitPay Sandbox environment : https://dashboard.sandbox.hit-pay.com
Sandbox testing instructions can be found here
IMPORTANT : Please select the payment logos that you want to display in the checkout page. If you do not select the payment logos, HitPay will not appear in the checkout page
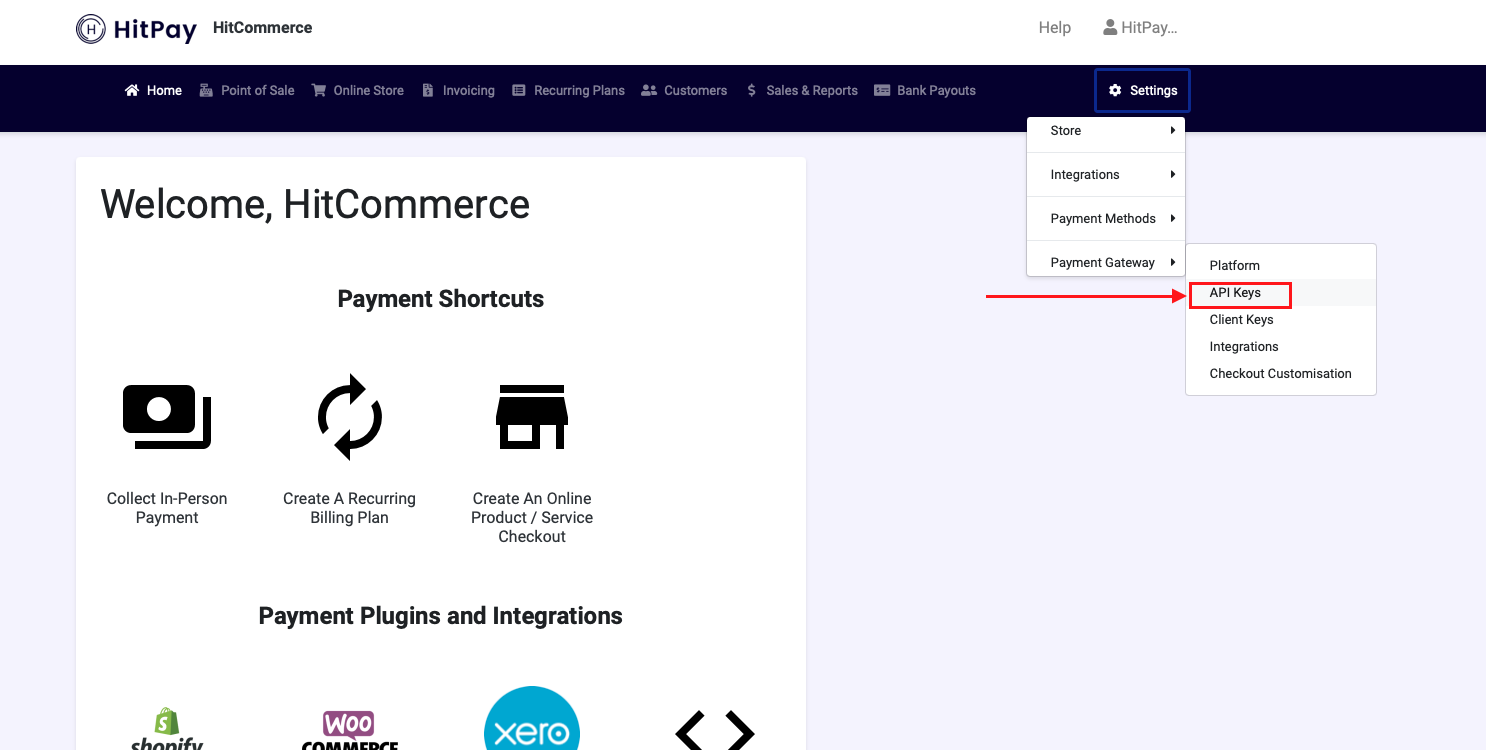
Create API keys
Navigate to Settings>Payment Gateway>API keys from the dashboard
Click on Generate API Key
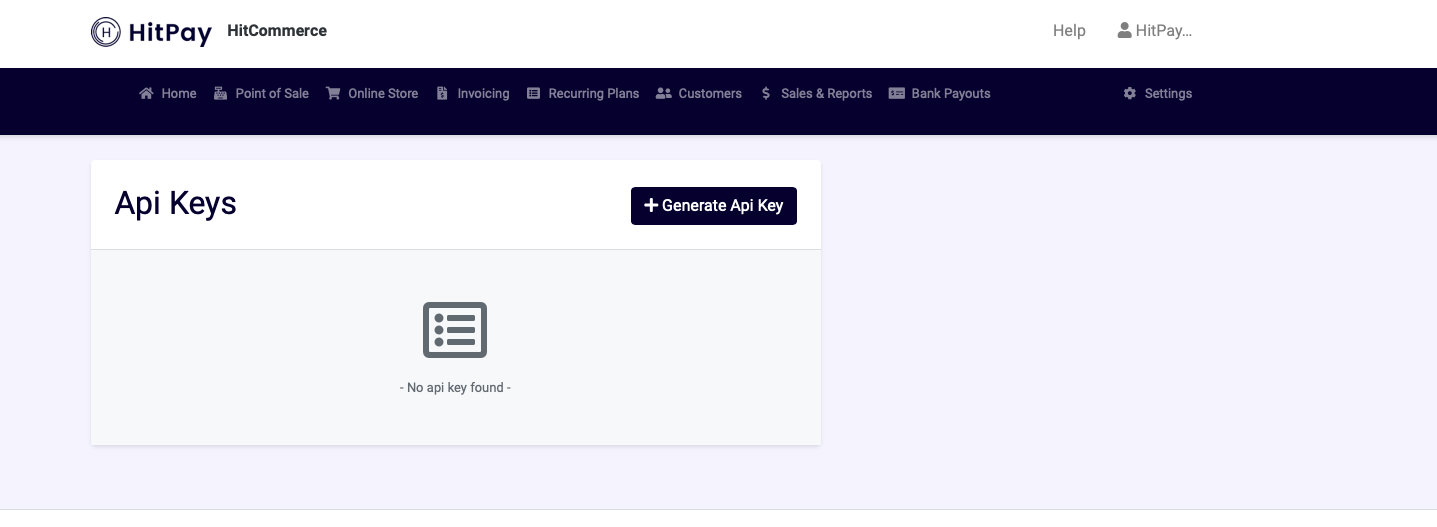
Copy / Paste the highlighted values in the HitPay settings in WooCommerce as shown above

Activate Payment Methods For WooCommerce from HitPay
Navigate to Settings>Payment Gateway>Integrations
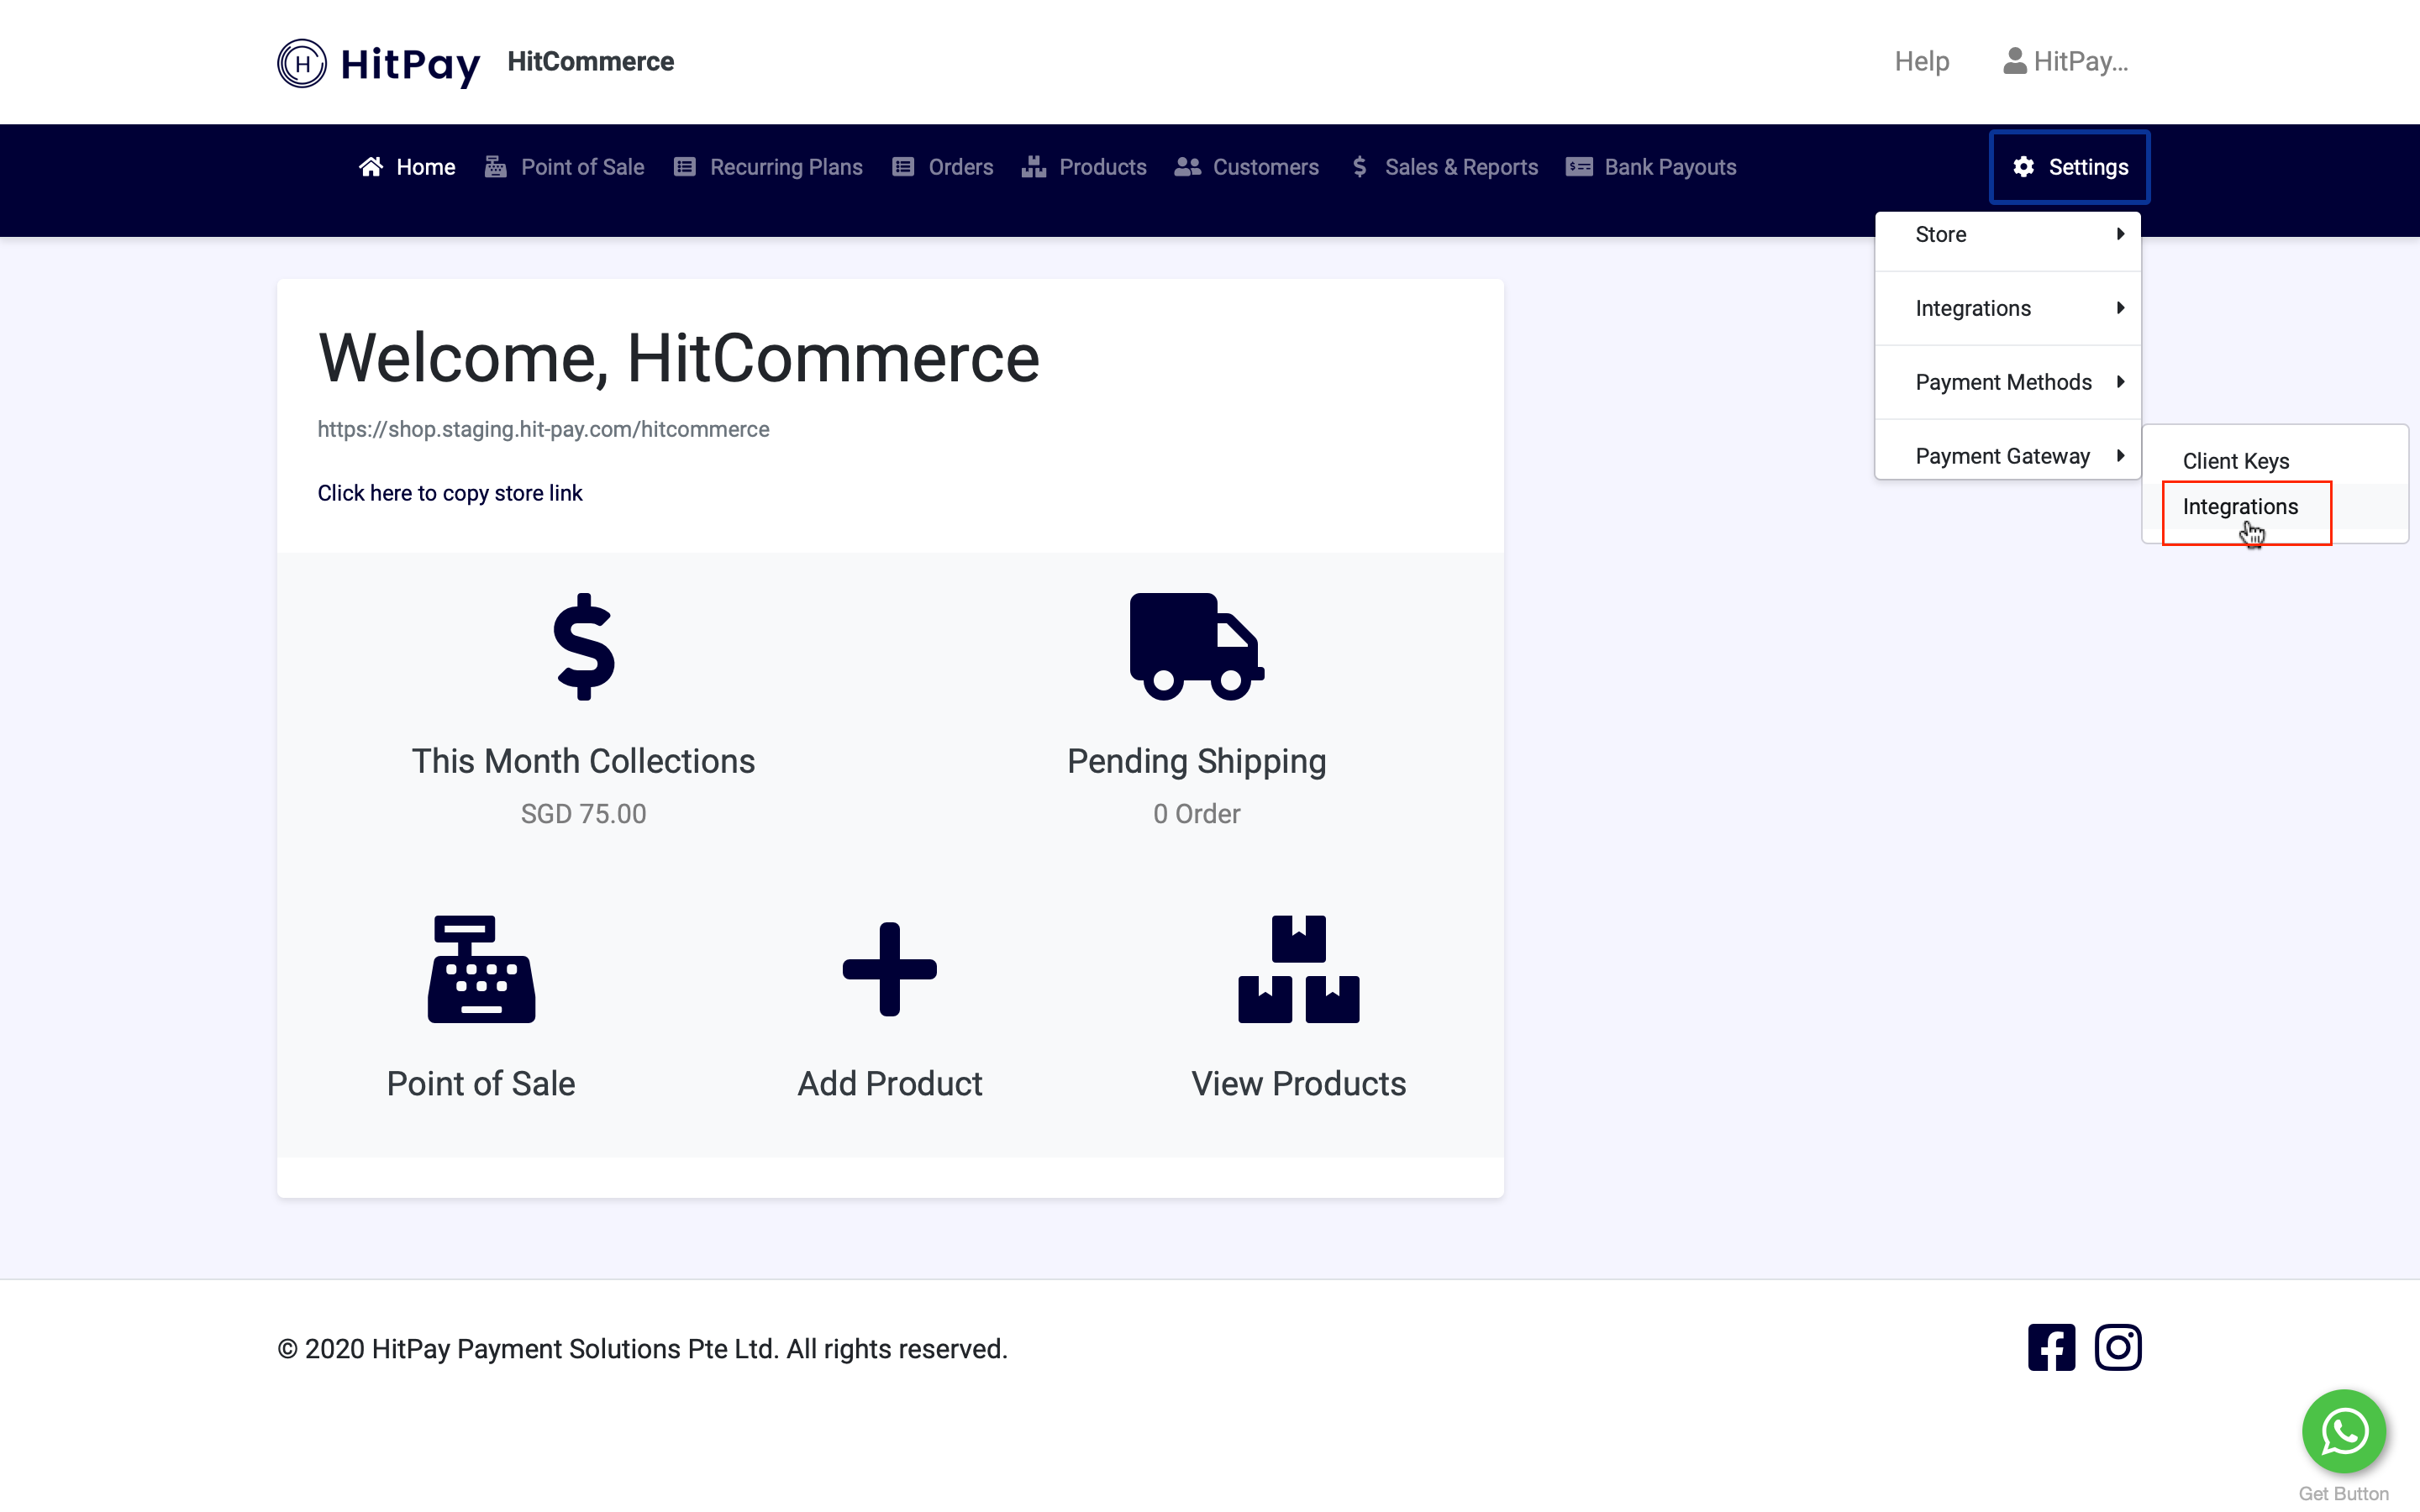
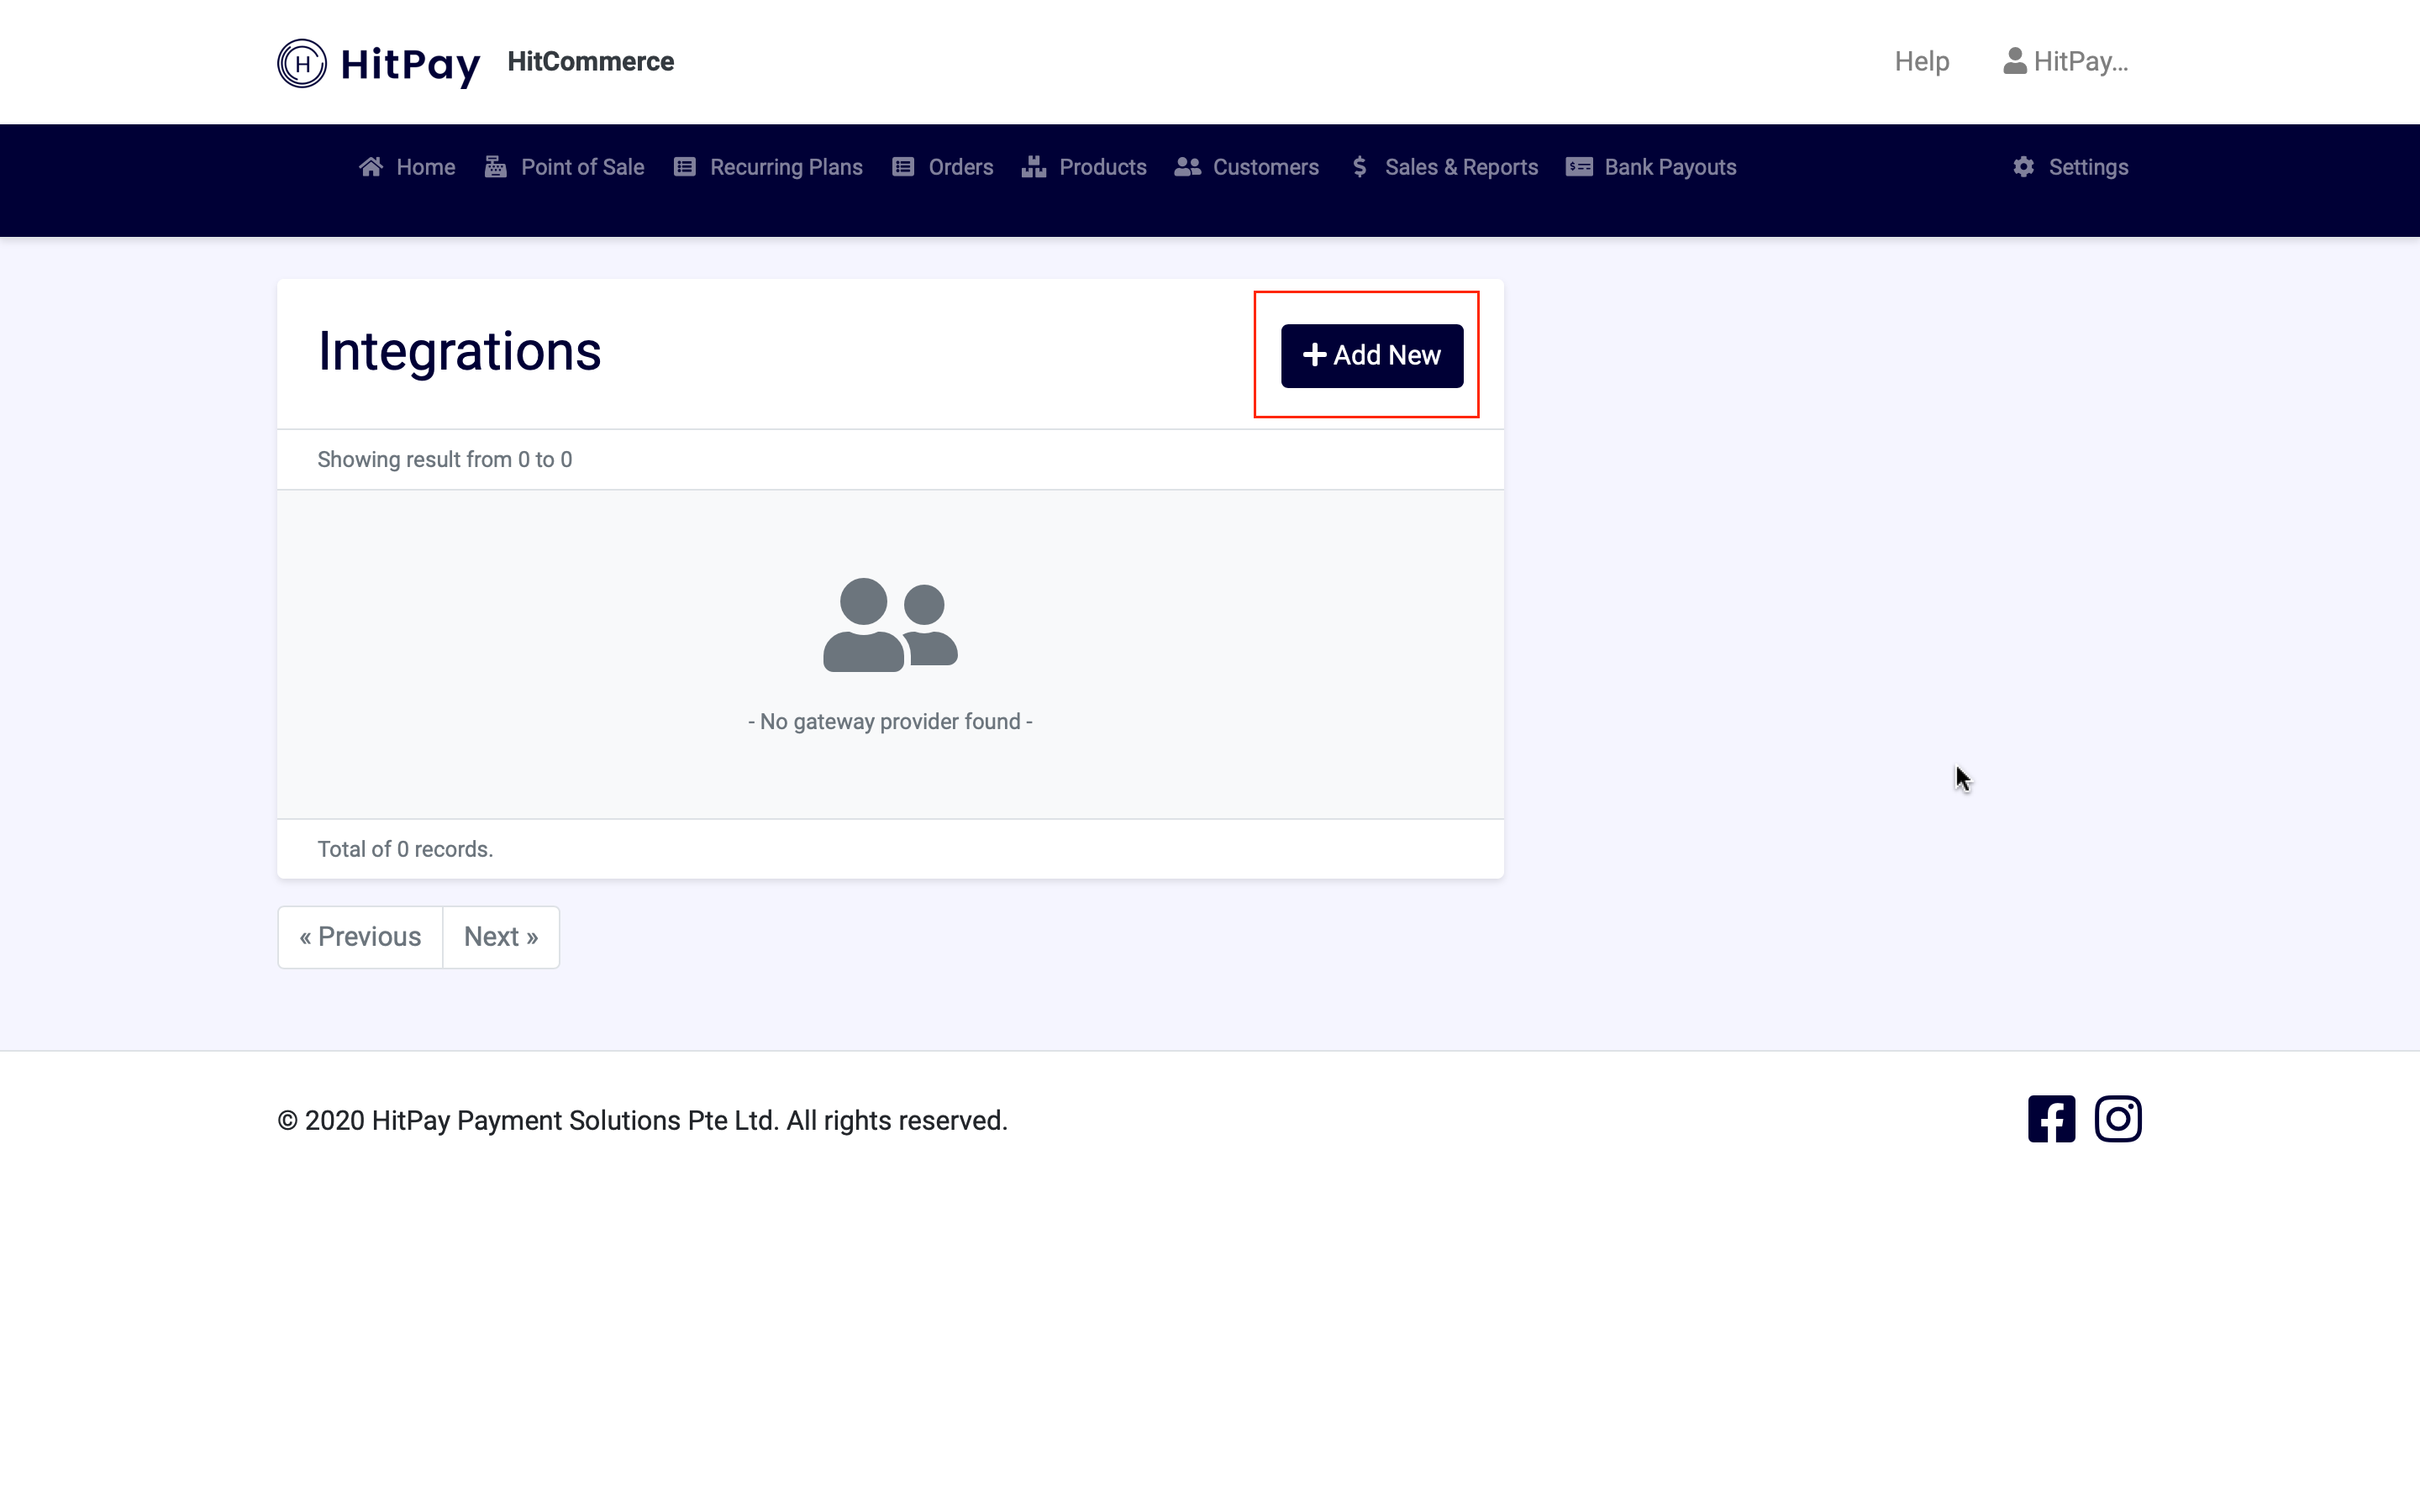
Click on Add New
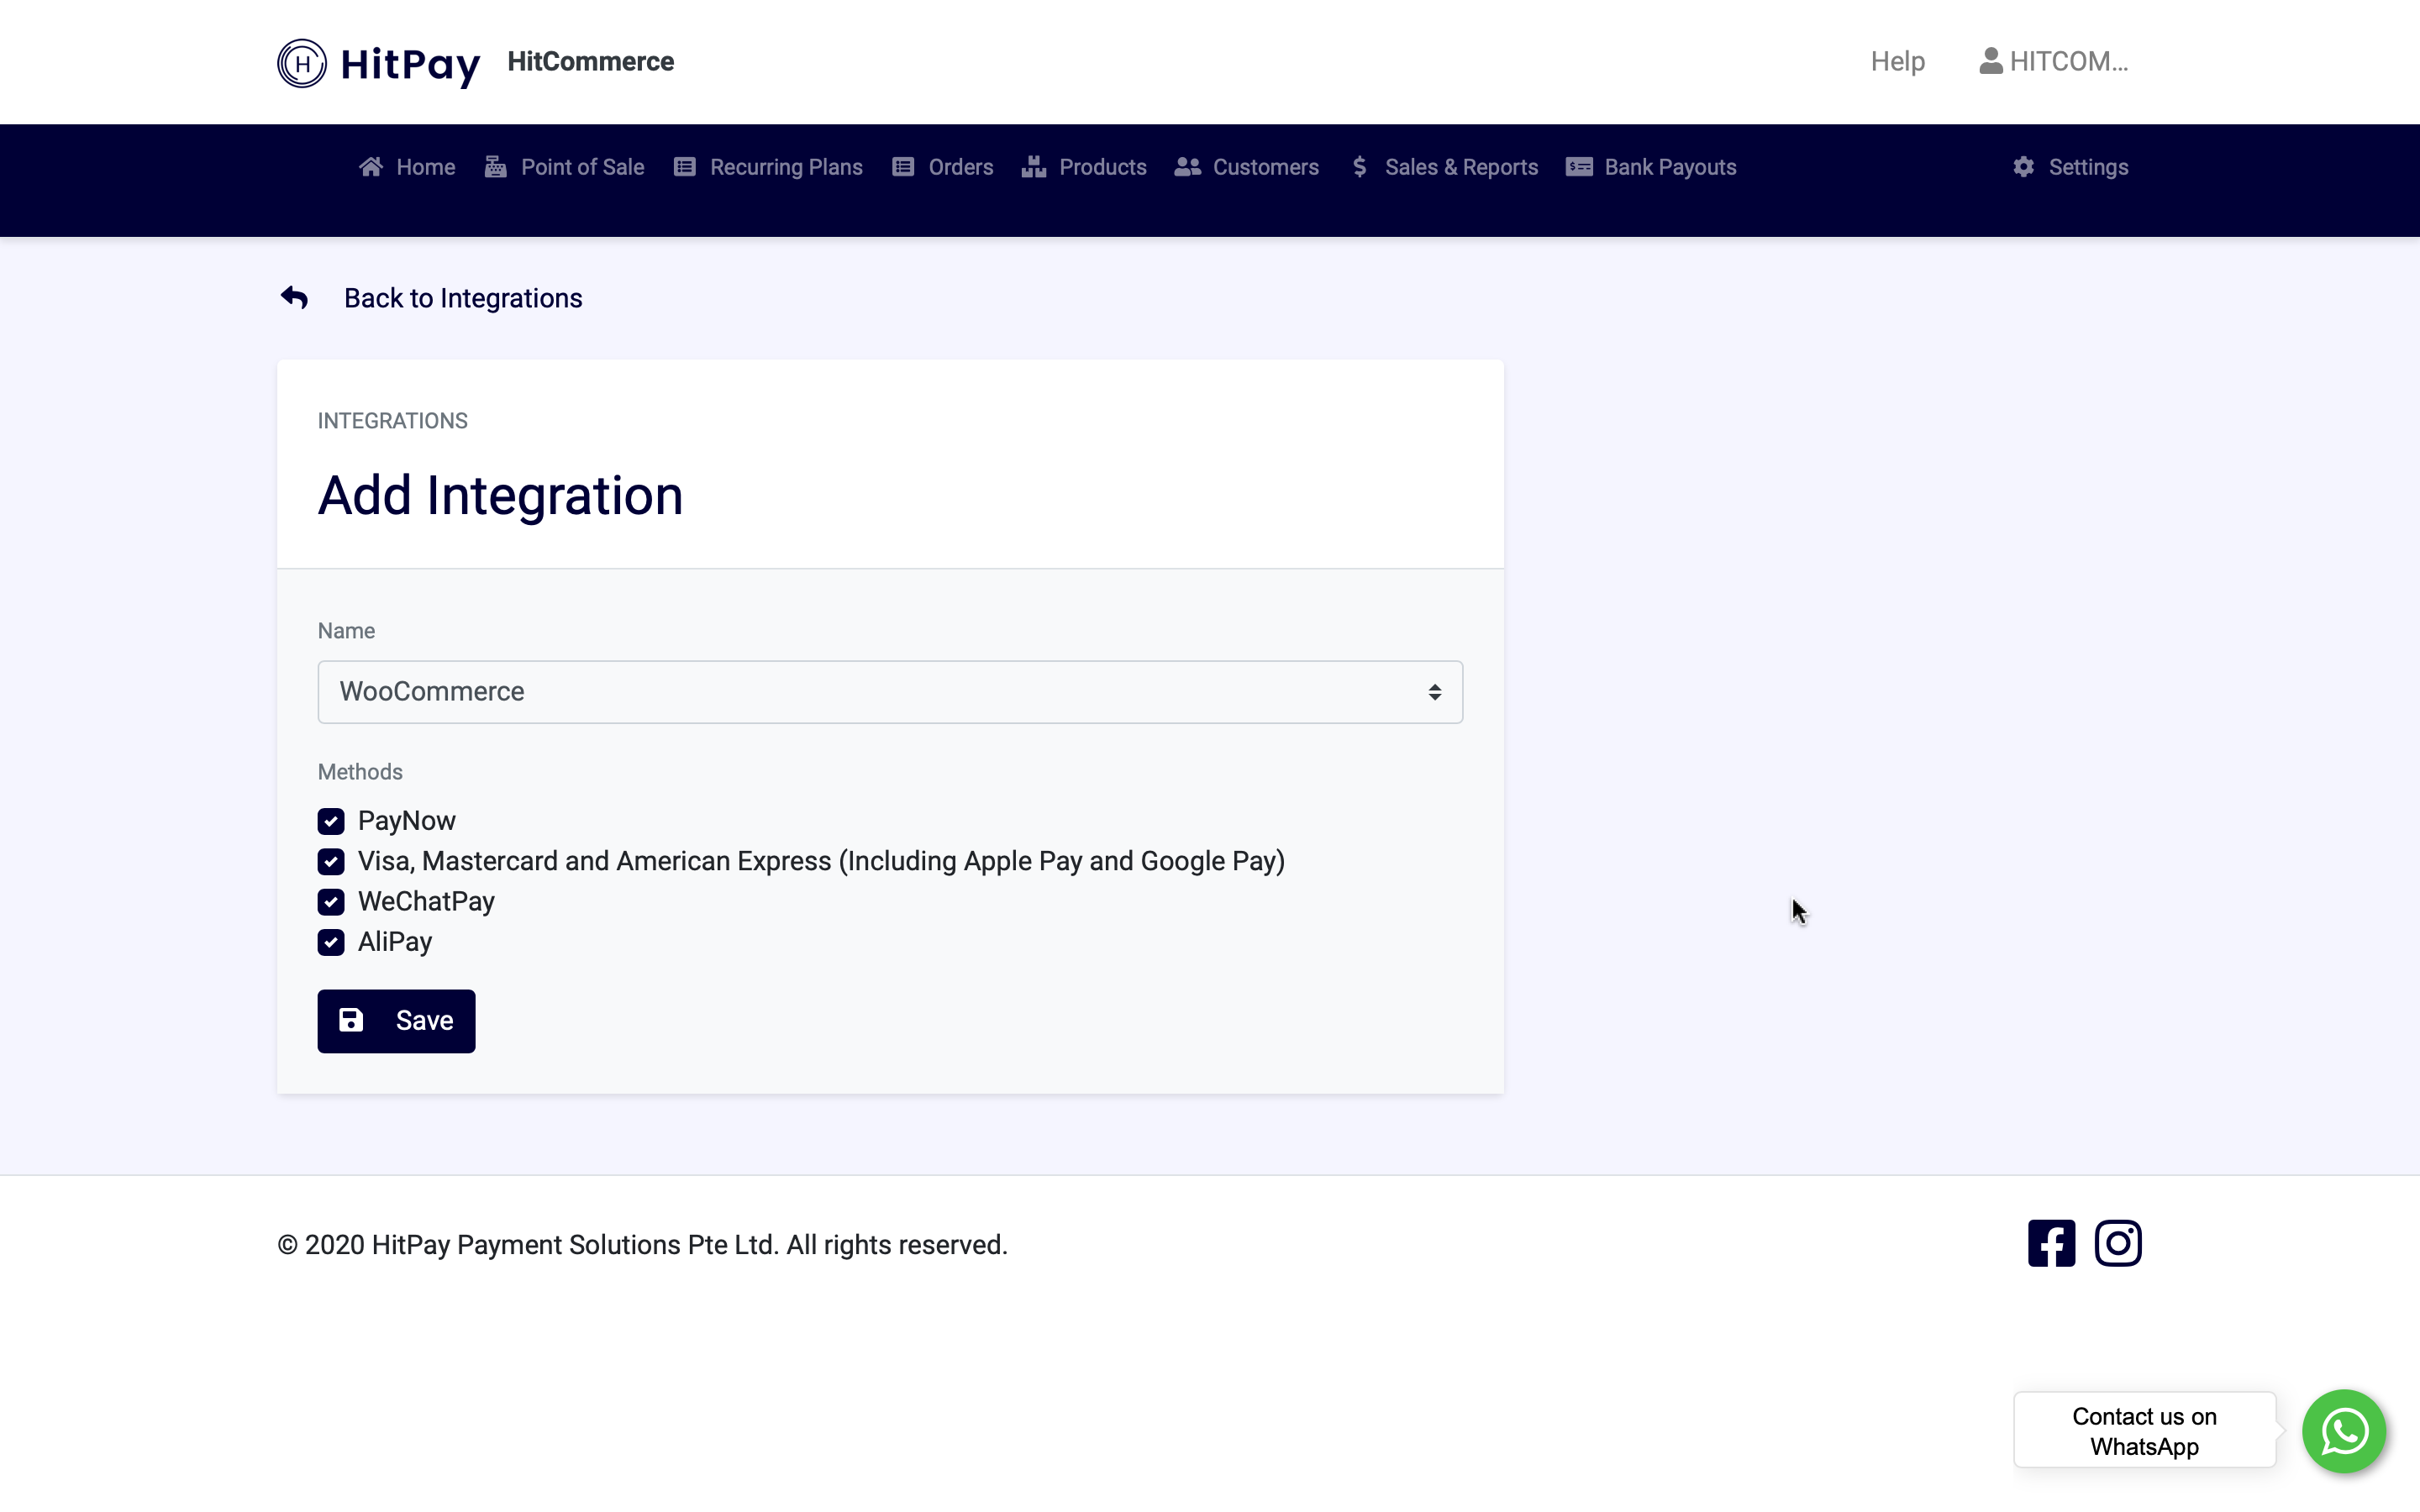
Select the Integration Name : WooCommerce API, select the payment methods that you would like to enable and click on Save
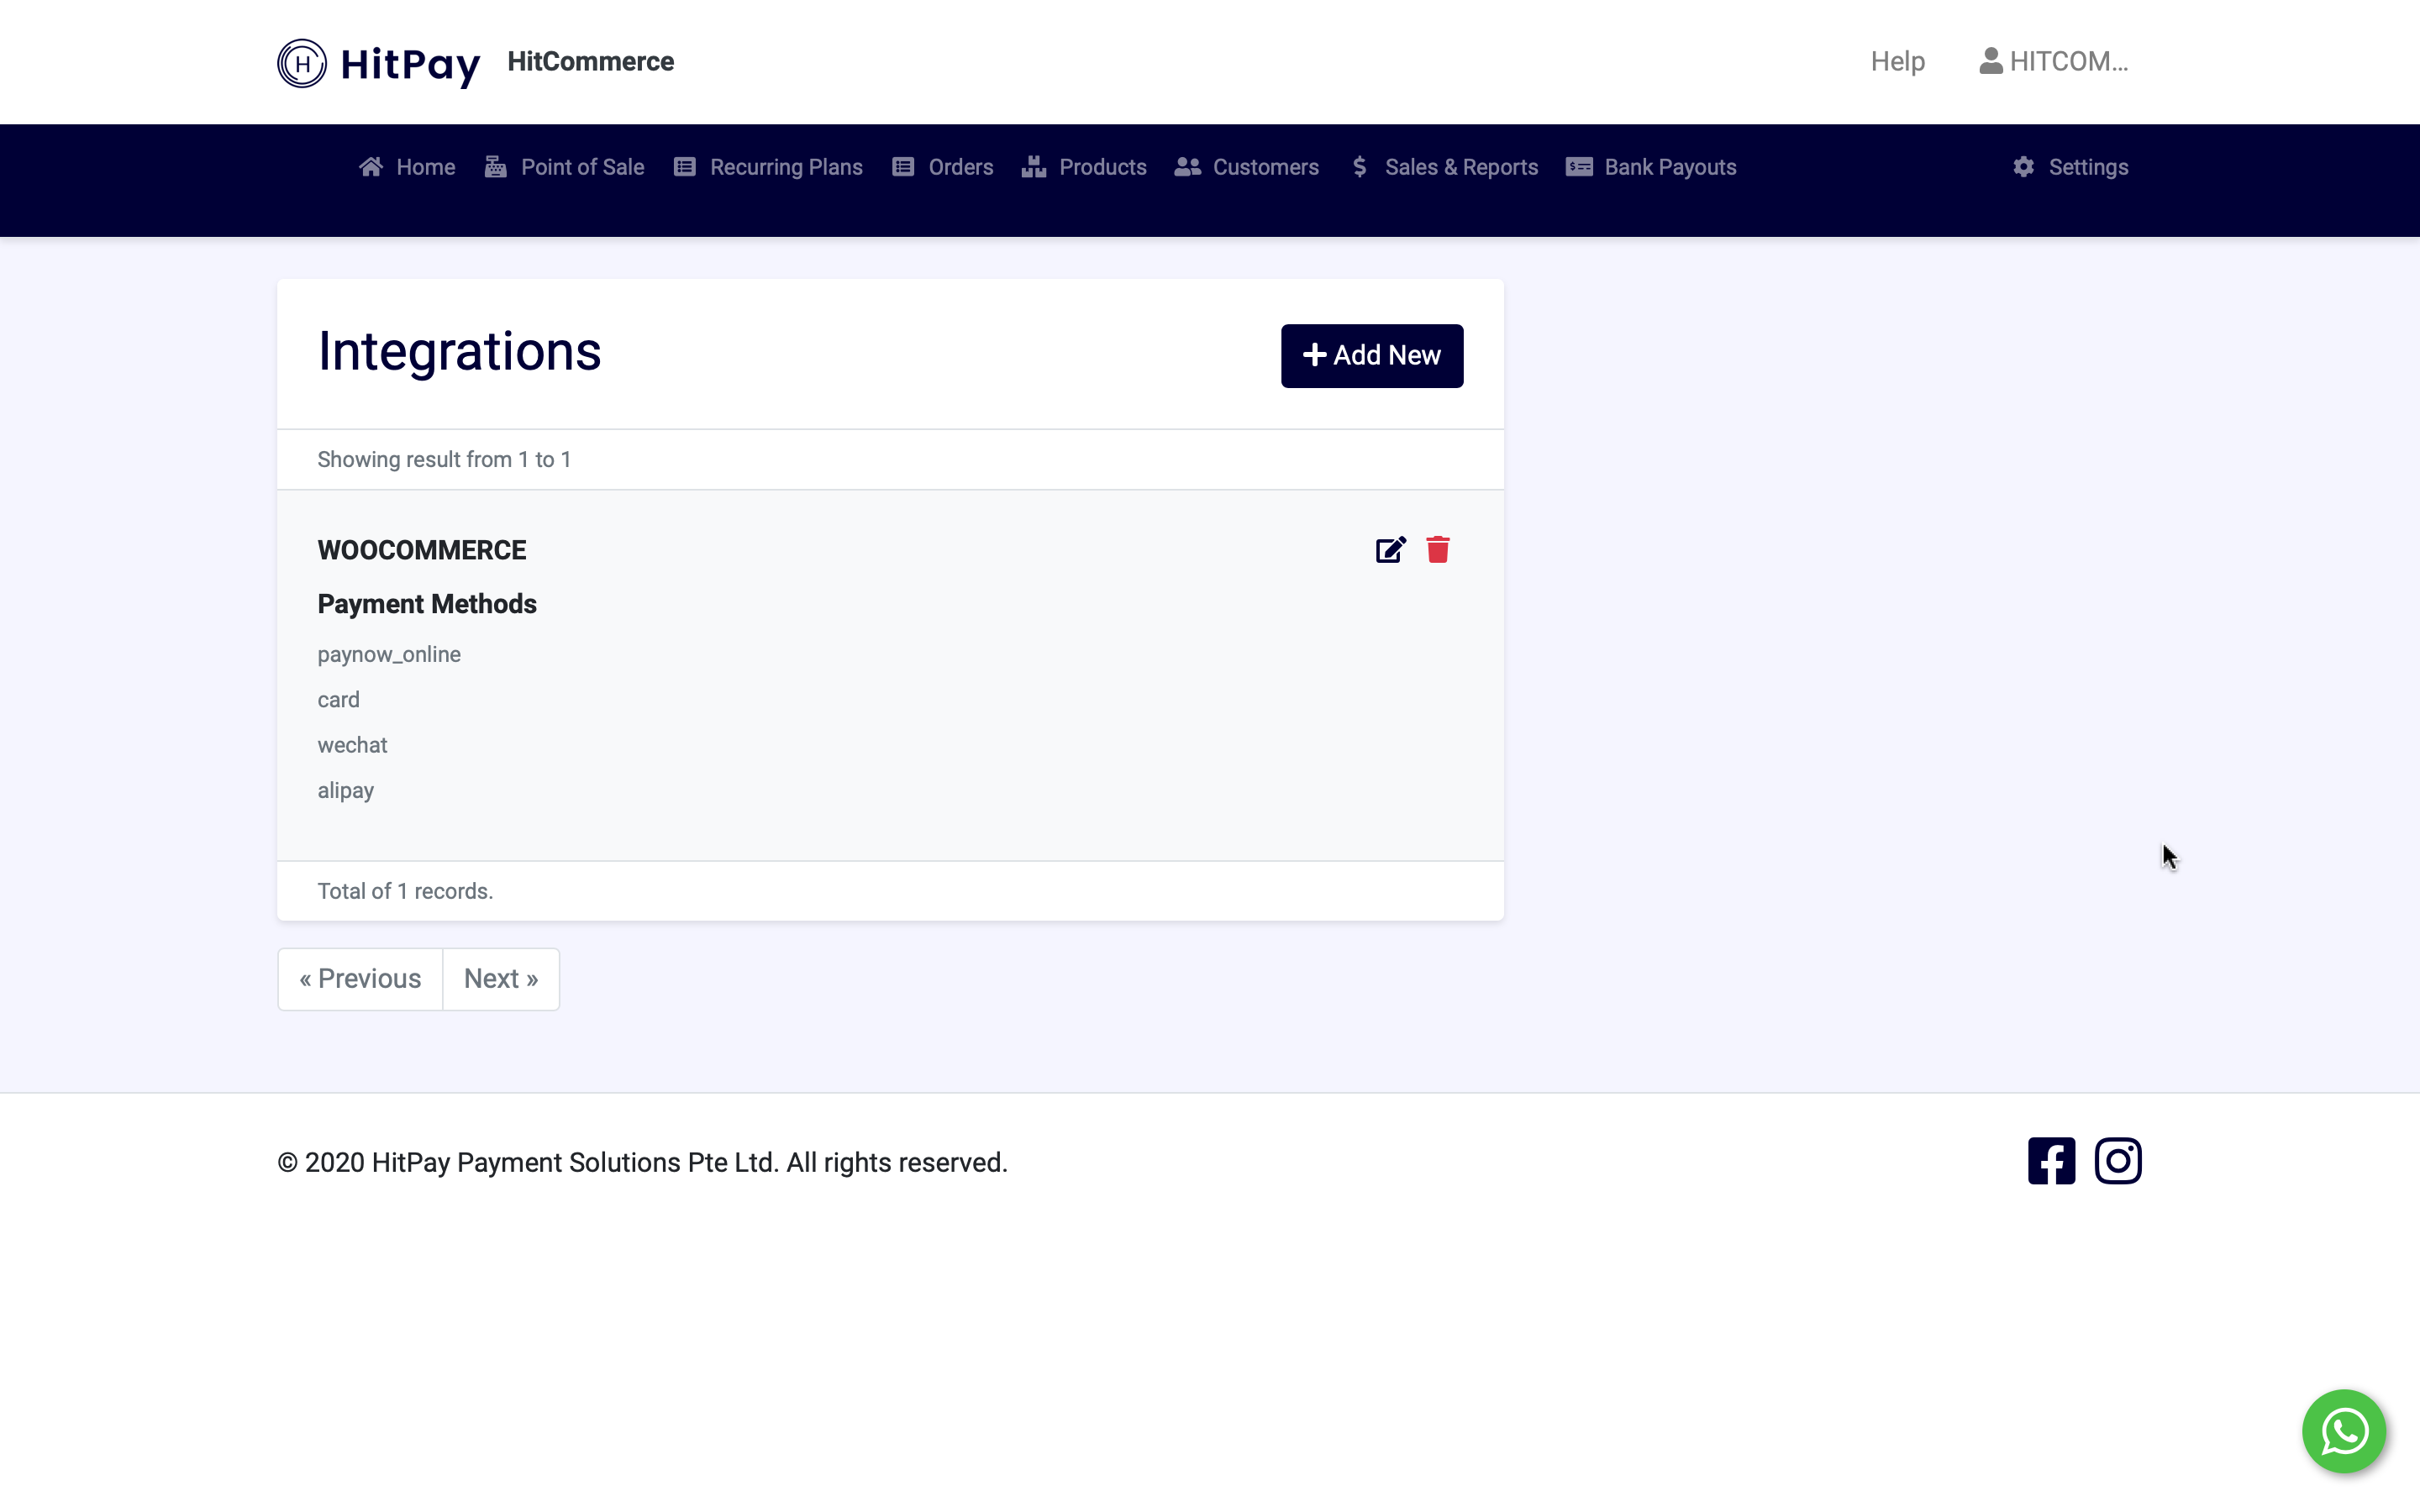
Upon clicking Save, you will be able to view the payment methods enabled for your store
FINAL STEPS
Click on Advanced under WooCommerce settings
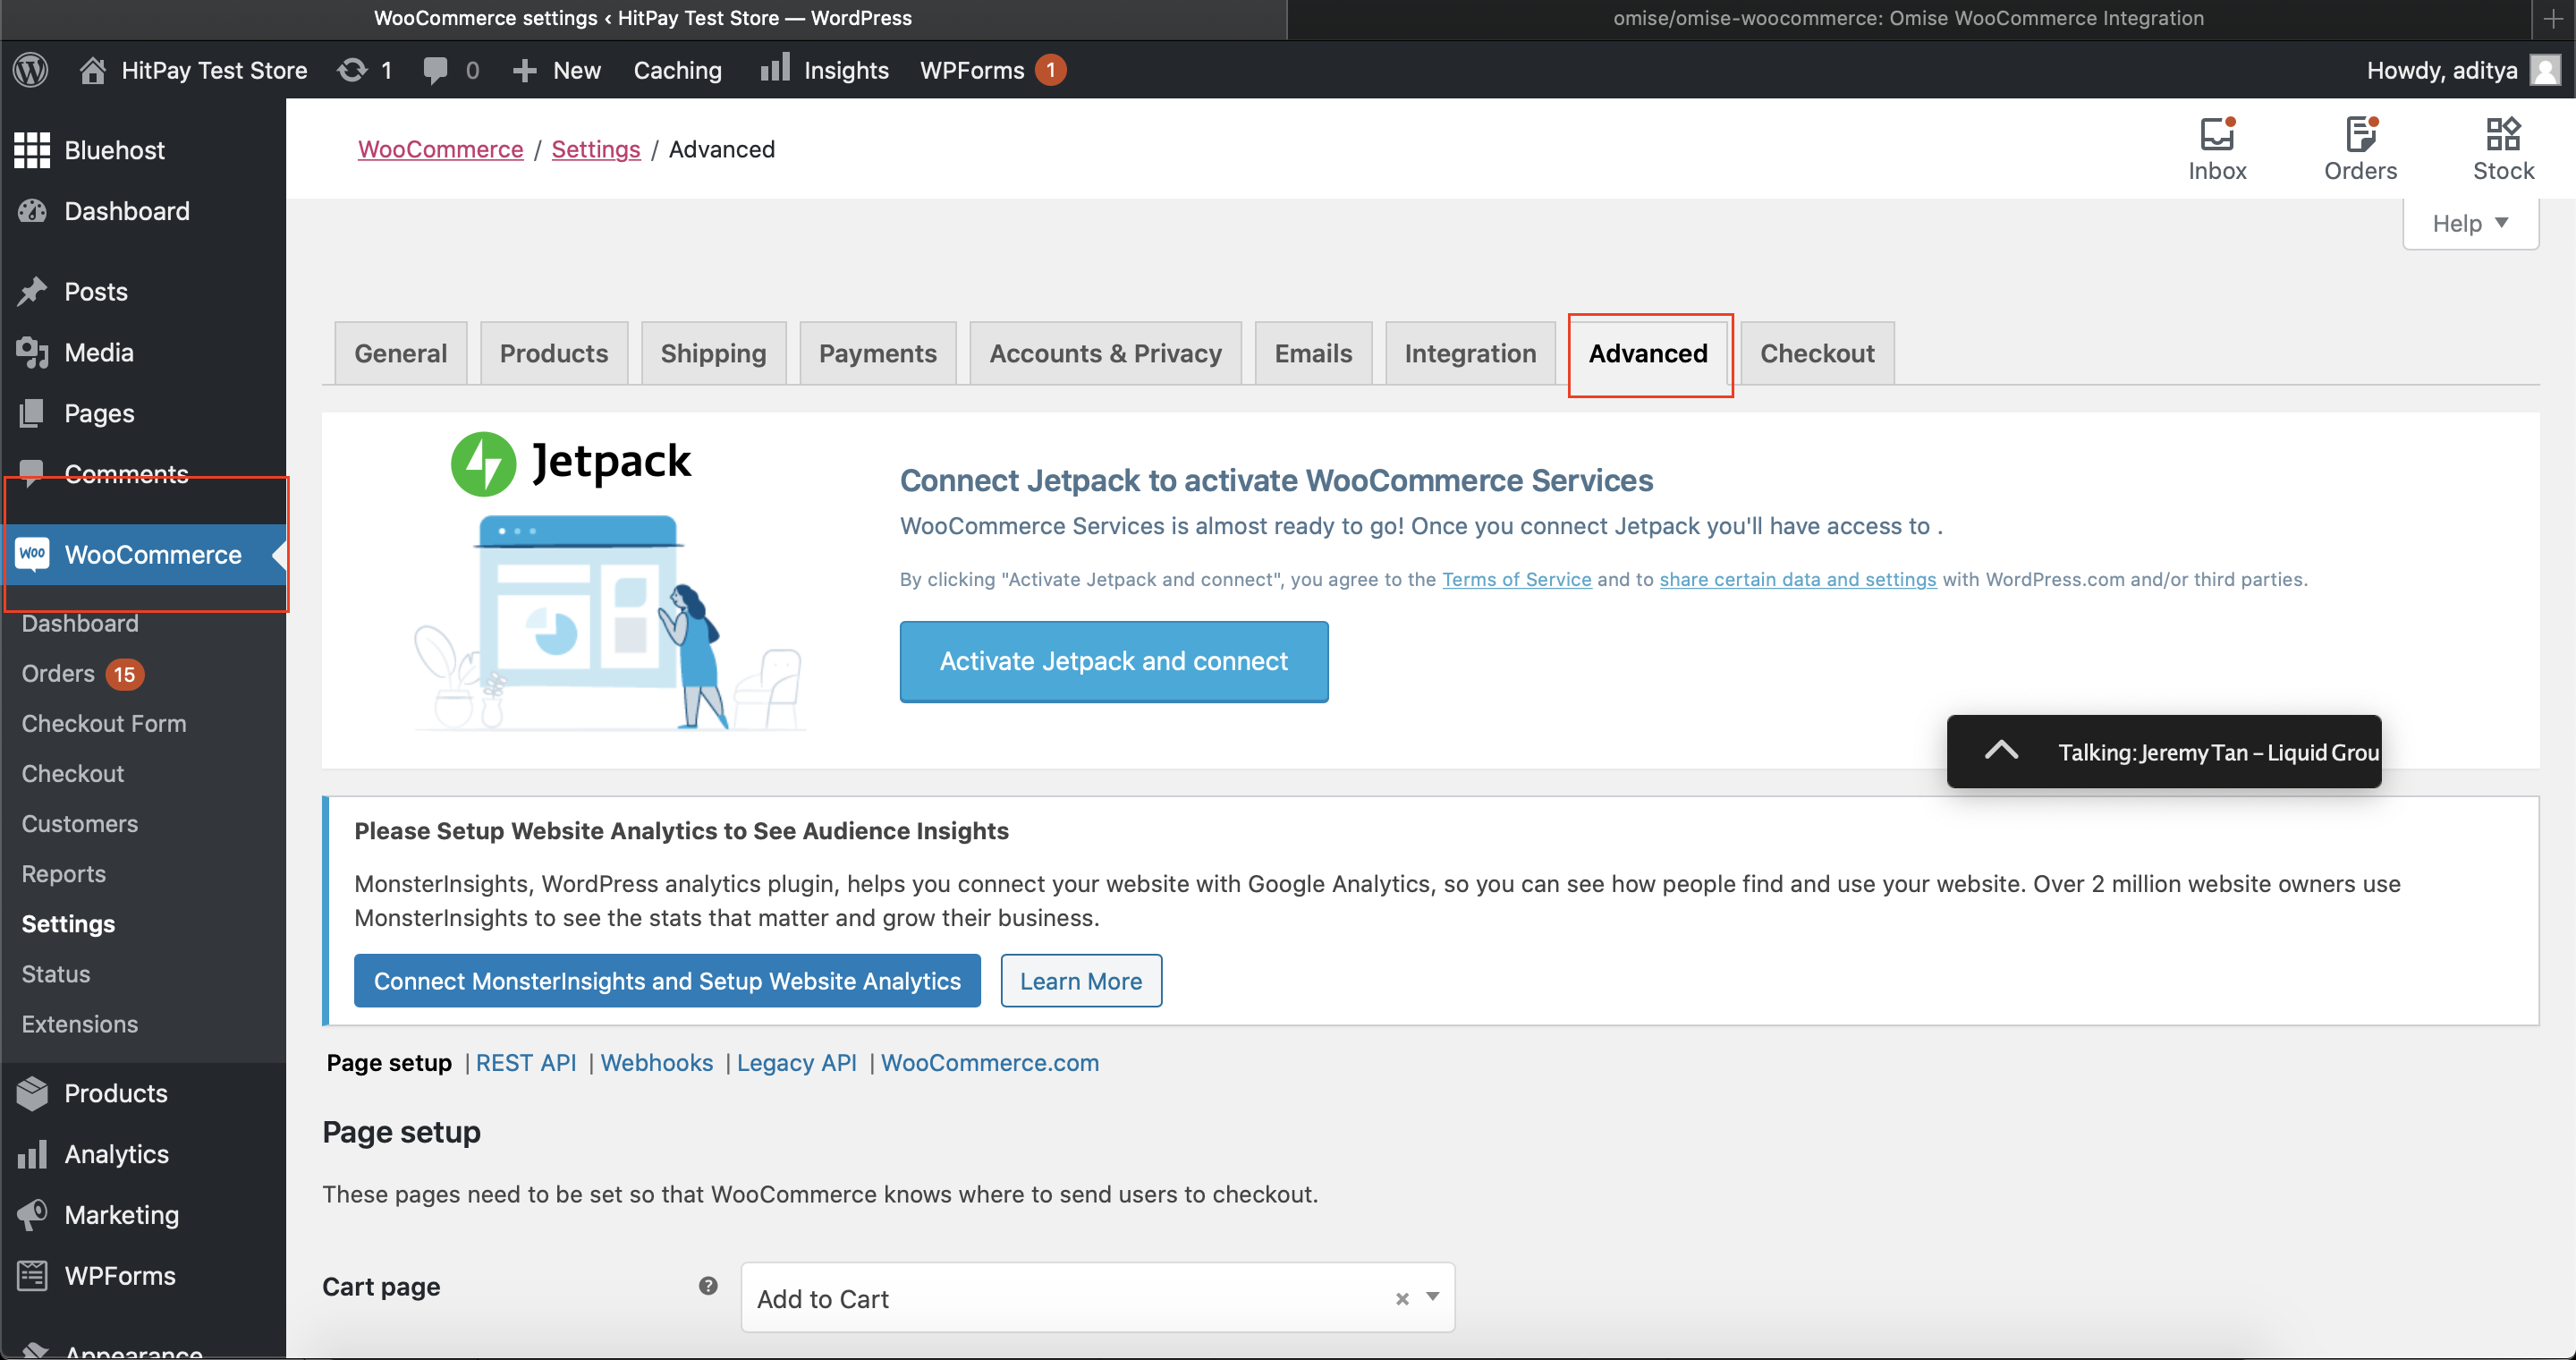
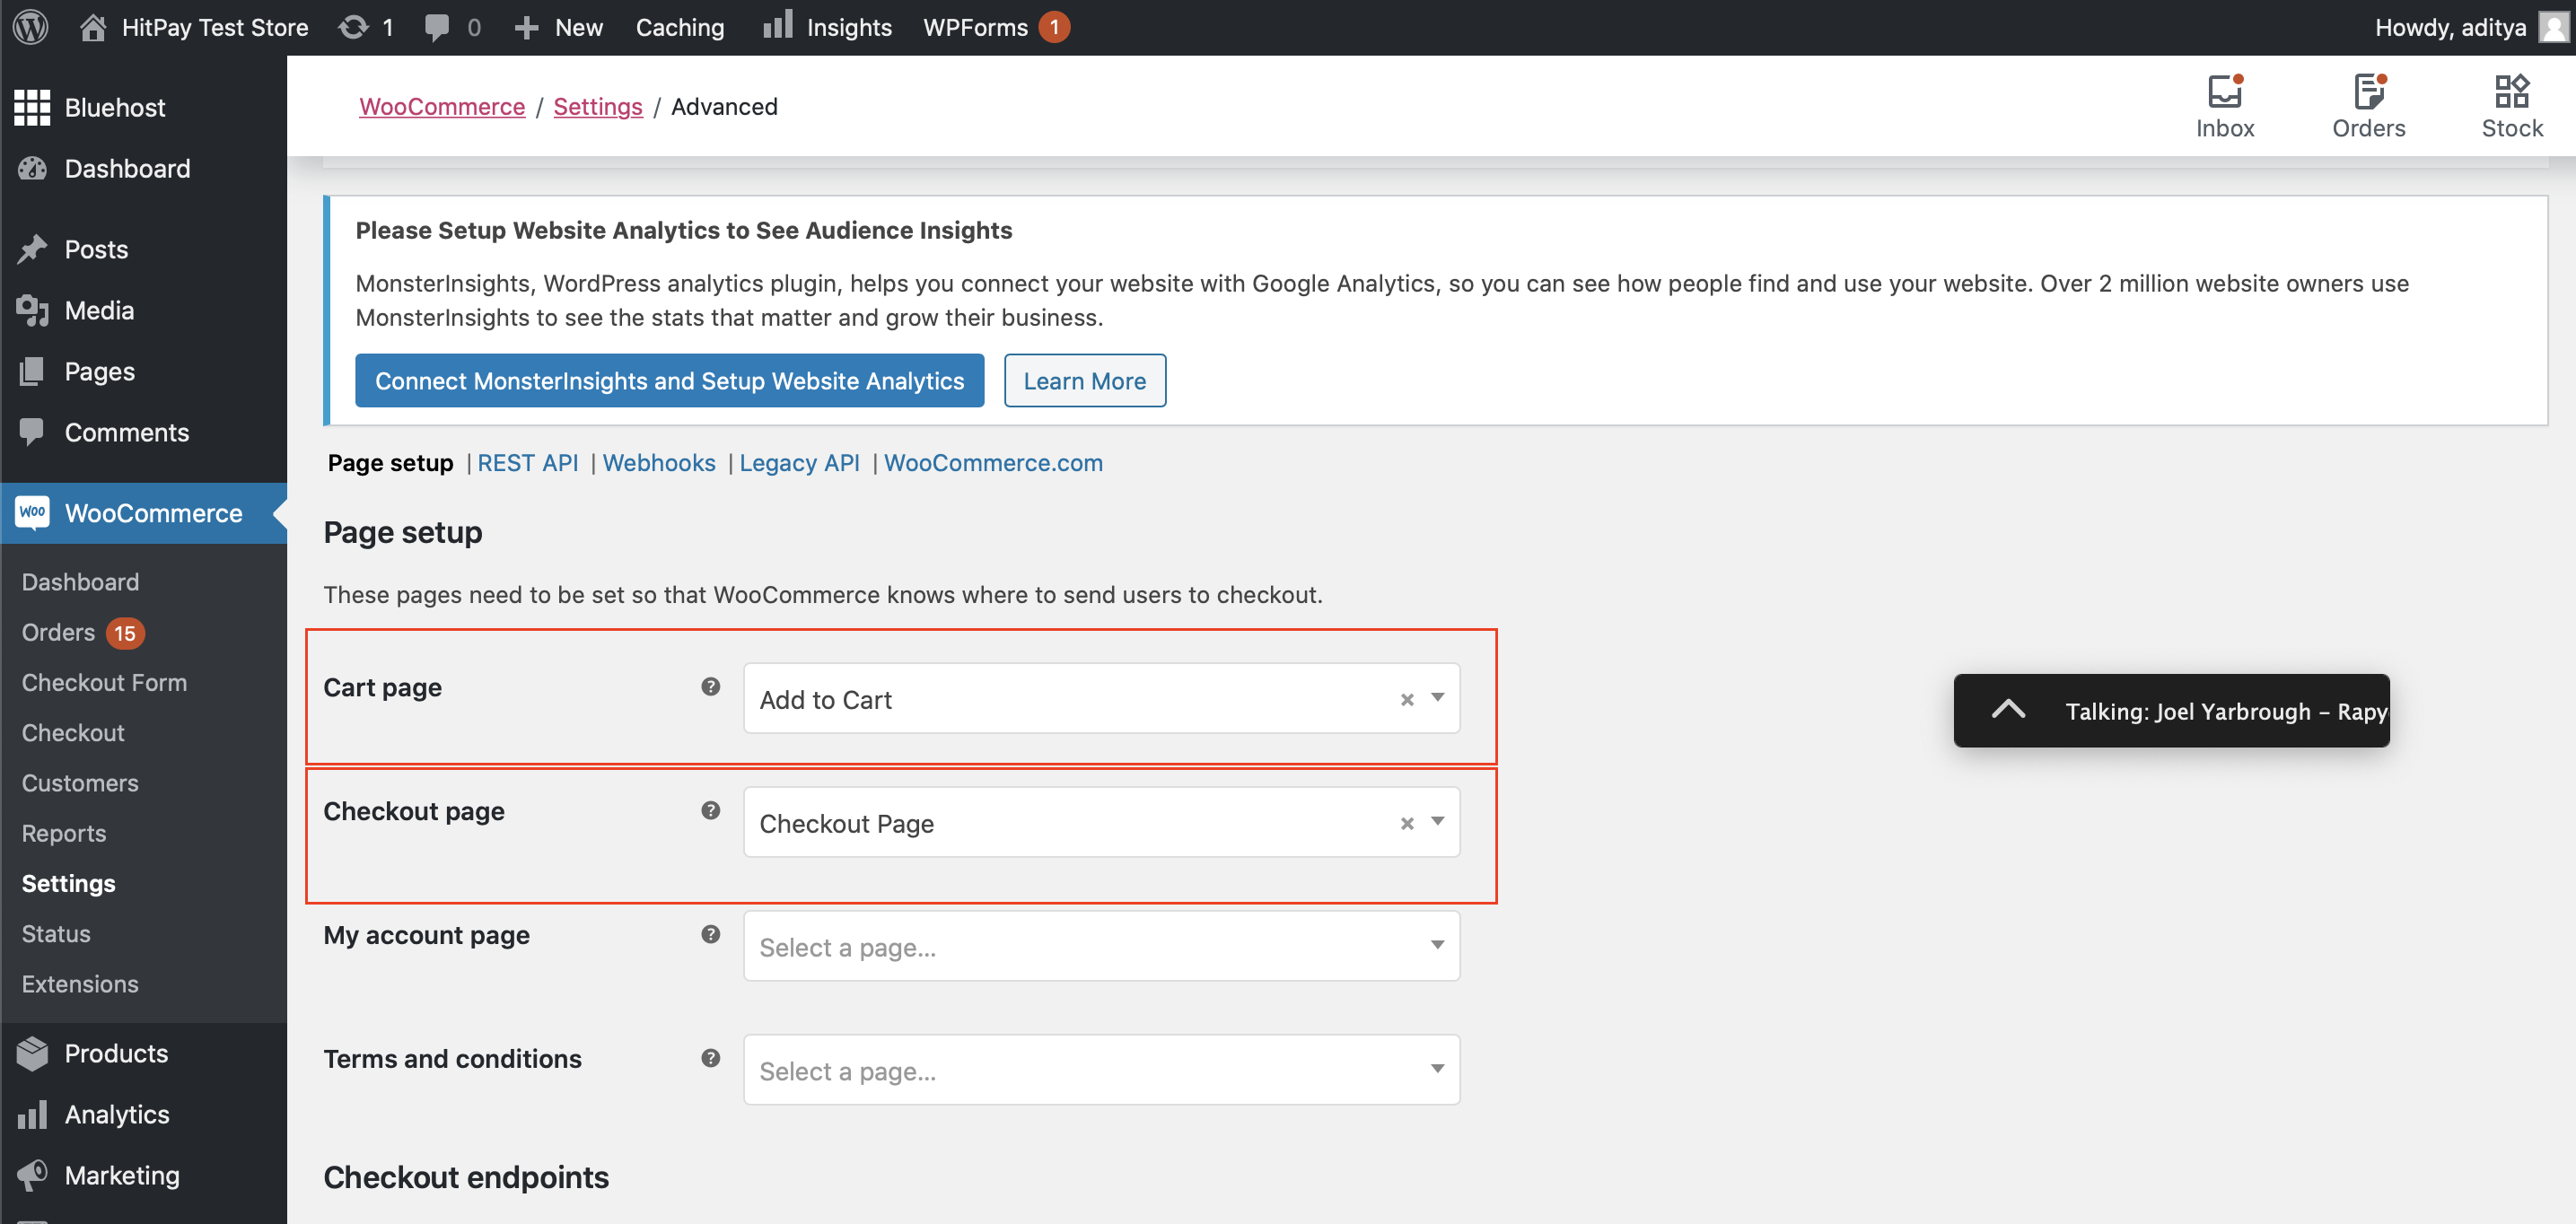
Ensure you complete Page setup fields i.e Cart page and Checkout Page
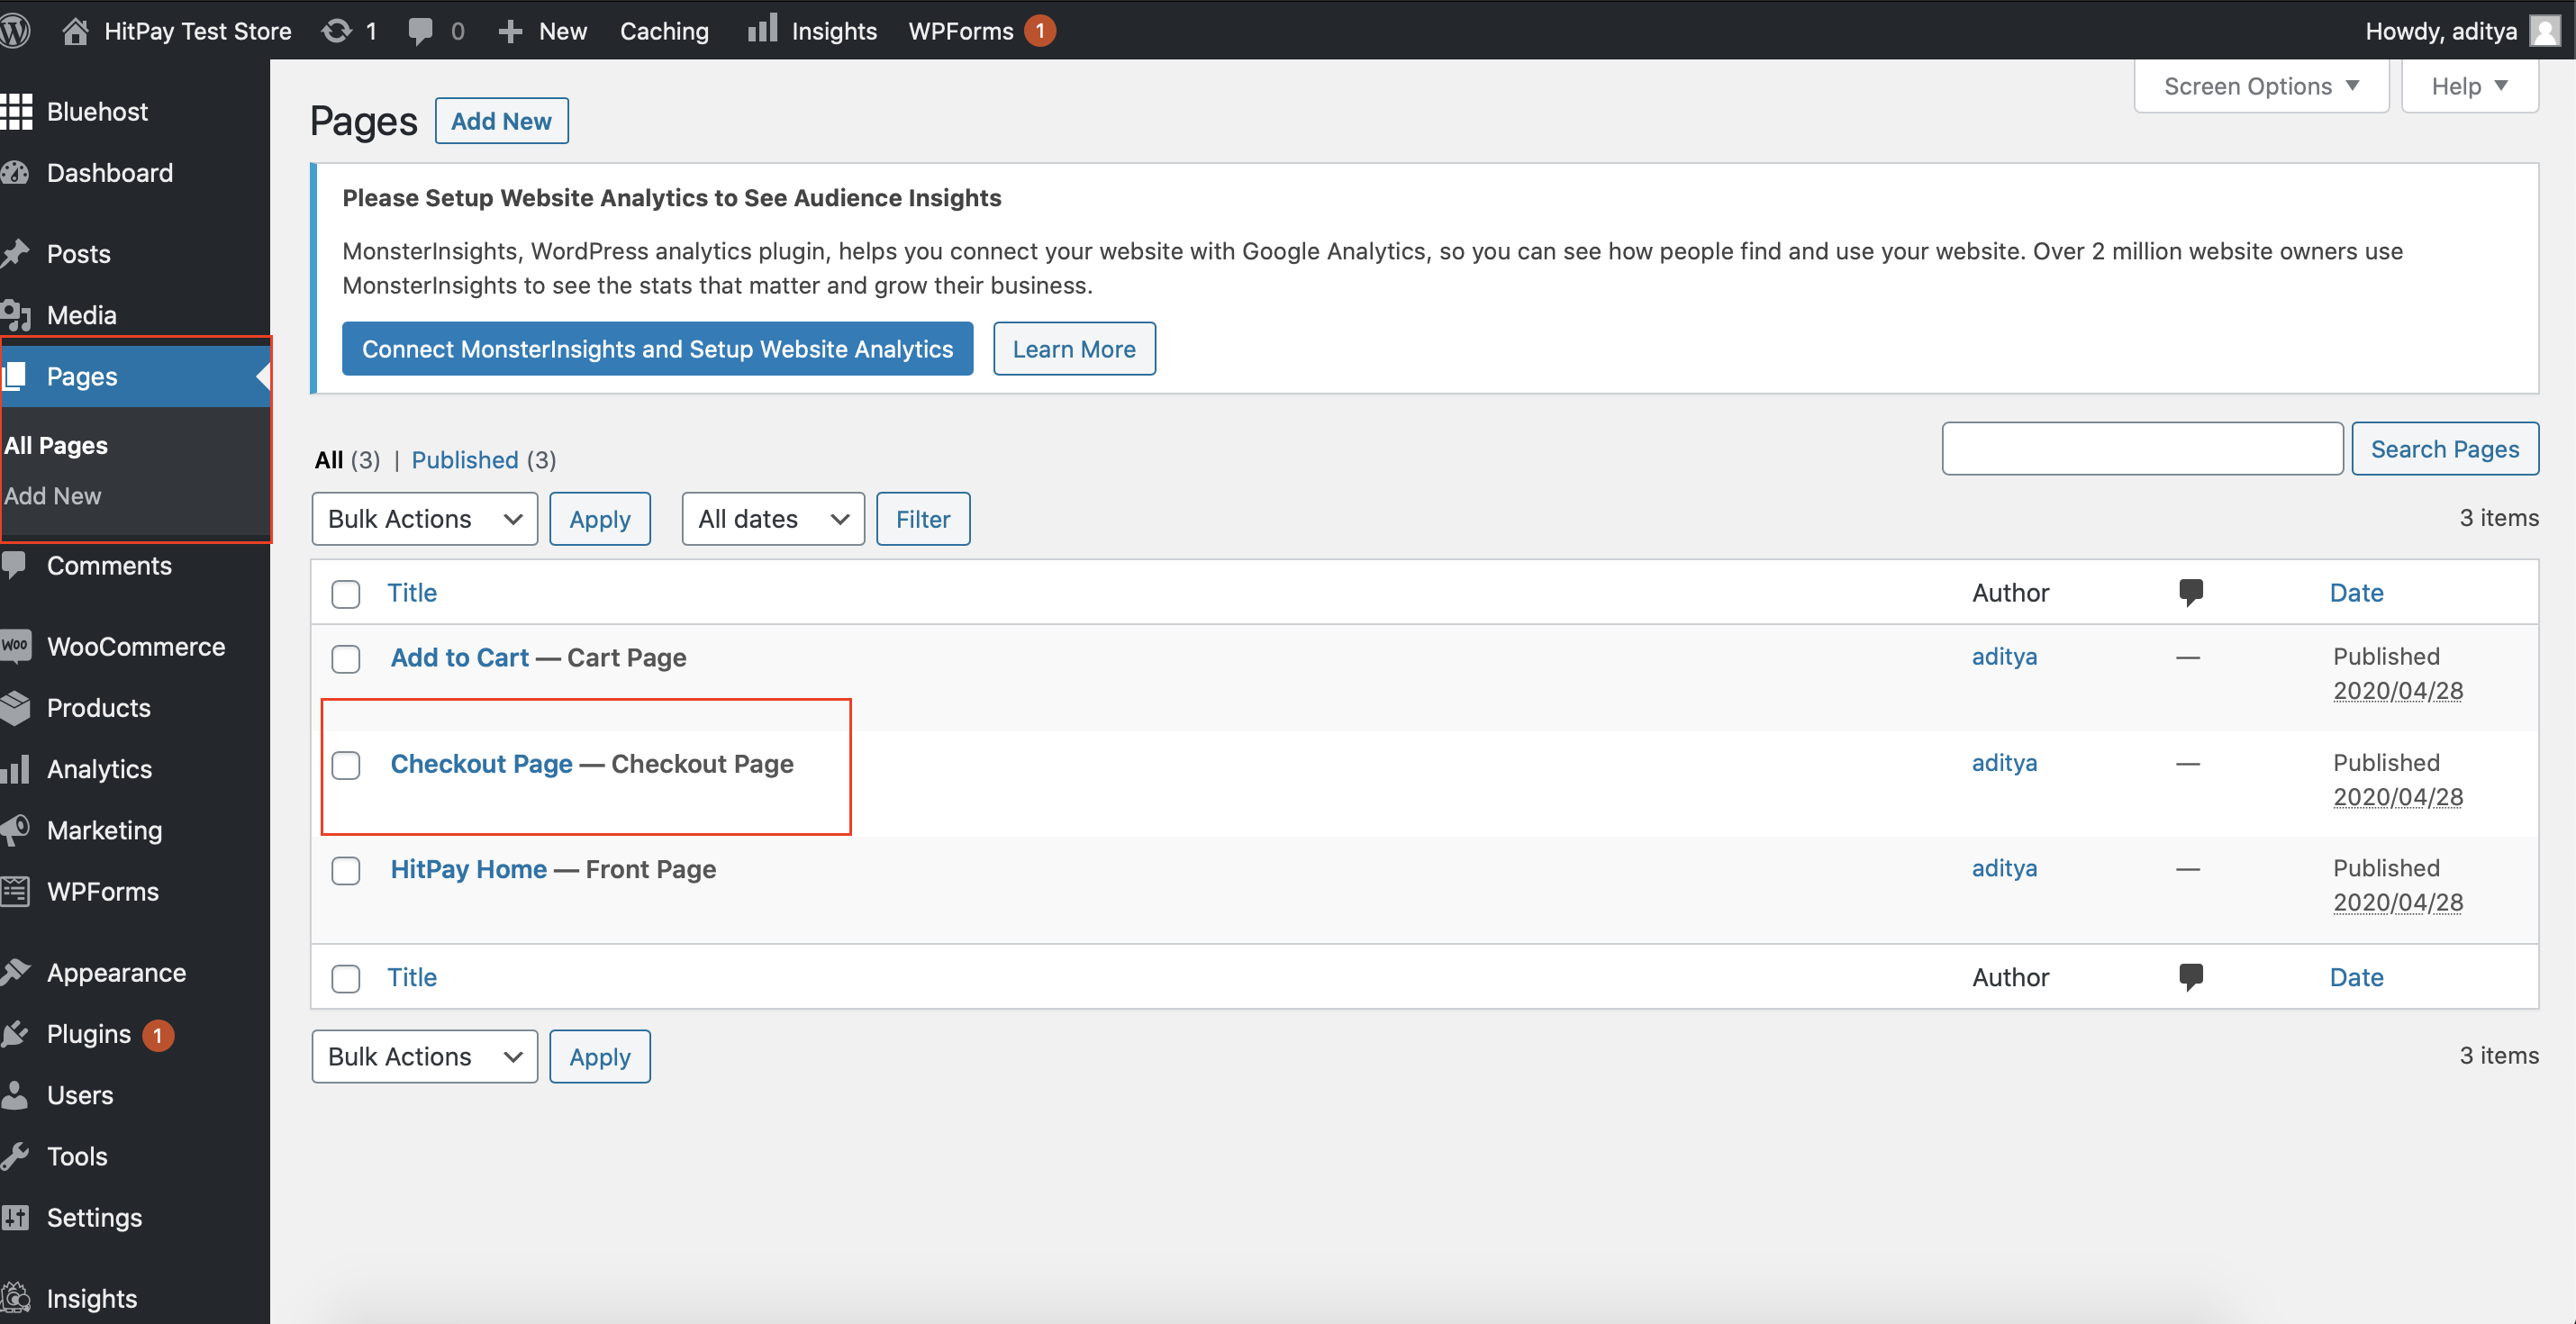
Add the text [woocommerce_checkout] to the page that has been selected as Checkout Page above.
You may do so by clicking on Pages from the left menu, click on the page selected as Checkout Page
and add the text [woocommerce_checkout] in the body of the page
Thats it! You are all setup!